In case you didn’t know, I love to make cheese. My kids even call me ‘The Cheeseman’ (yes, its silly). I’ve been trying to perfect my cheesemaking for several years now. I’ve slowly worked my way up to harder cheeses (to make, not in texture).
I think anyone trying to make cheese for the first time should start with something like ricotta. Which reminds me of my rant after the first time I made ricotta…”Why is ricotta so expensive in the store?” and “Why isn’t this more common to do at home, its so easy!”. For those unfamiliar with making ricotta, all you need to do is heat milk (with a little salt) to 180 degrees then add some acid like lemon juice or vinegar. It then separates and is strained. Done! It is very simple and forgiving (you can accidentally heat the milk all the way to 200 degrees without causing too much damage).
Now, most cheeses aren’t nearly that easy…
The average cheese follows this model:
Step 1) Culture the milk
Warm the milk to a culture friendly temperature, add the culture, and wait for the milk to acidify
Step 2) Curdle the milk
Rennet is added to the acidified milk, causing the milk to separate into curd and whey
Step 3) Curd is cut
Curd is cut into cubes
Step 4) Curd is ‘cooked’
The curd is heated to raise its acidity and so that the curd releases moisture
Step 5) Curd is strained and pressed
Curd is separated from the whey and pressed in some sort of mold –> Cheese
Step 6) Cheese is aged
Cheese is held at a certain temperature and humidity, allowing the culture to convert the lactose to lactic acid, aging the cheese
Now that was a very simple model of the steps to make most cheeses. The variation between cheeses (and there are many) comes from variations of these simple steps: different cultures, acidity rates, aging times, pressure during pressing, cooking temps, etc. This also means that most cheeses are very unlike ricotta in that they are not forgiving. To get them to taste and appear like the cheese that you set out to make requires a good deal of attention to detail.
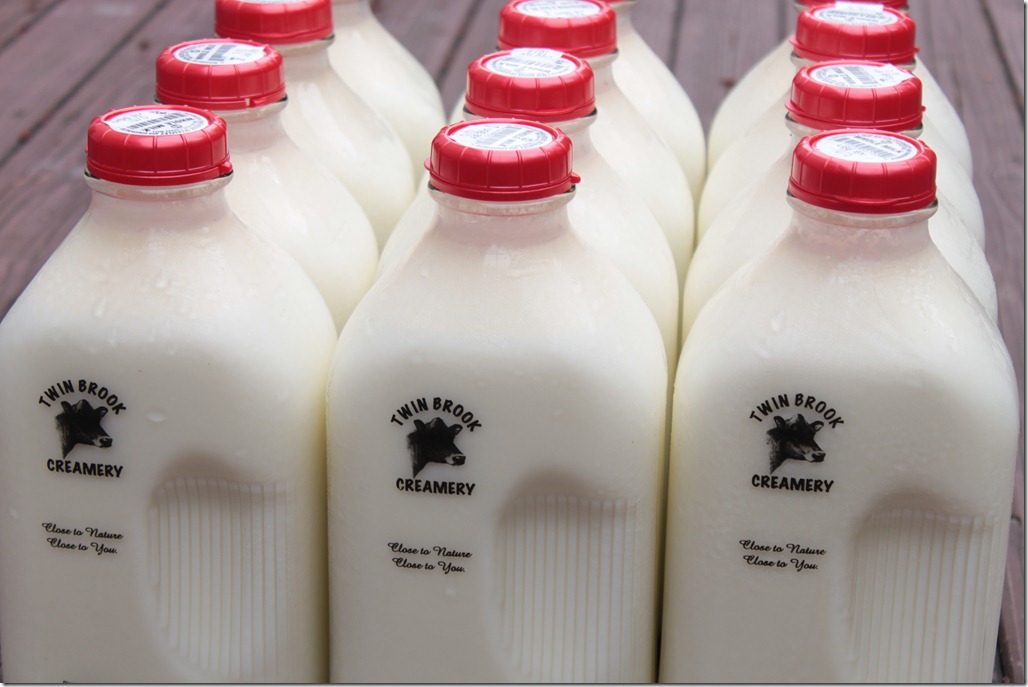
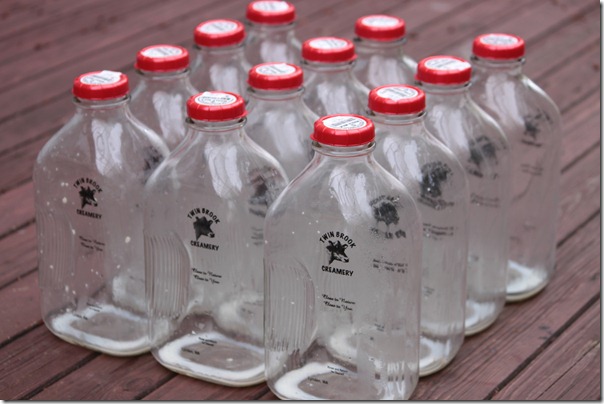
Another issue that I ran into was milk quality. The average milk that one buys at the store just doesn’t work well for making curd. There is a work around: you can treat the milk with Calcium Chloride. This helps to make up for the hard breakdown of the proteins in the milk caused by the pasteurization process. And then there’s Twin Brooks Creamery…
There is a growing movement in the Northwestern United States (as well as other places) where small local farms are selling a higher quality milk that has been pasteurized with a much lower, mellower process. In the case of Twin Brook Creamery, they also do not homogenize the milk (so the cream floats to the top). The milk is also from Jersey cows (rather than Holstein). Milk from Jerseys is higher in butterfat, and protein content in general (so you get more curd per gallon). I’ve found that the curd produced from this milk requires no chemical treatment and has an excellent texture and quality.
We recently ordered several boxes of concord grapes from a local vineyard. When we juiced the grapes we ended up with a bunch of ‘Marc’, which is the extra pulp, skins, and seeds. I figured this was a wonderful opportunity to make
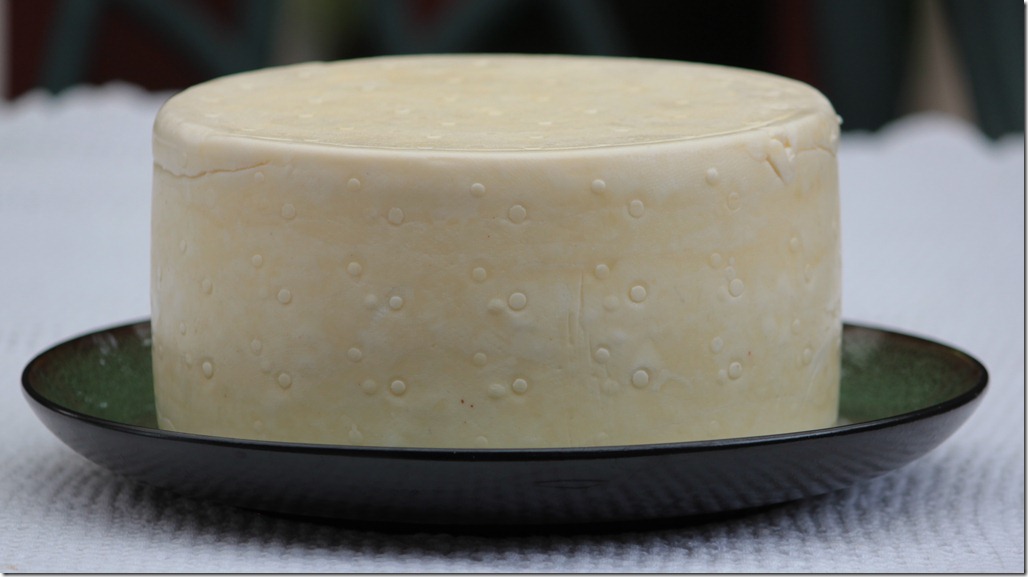
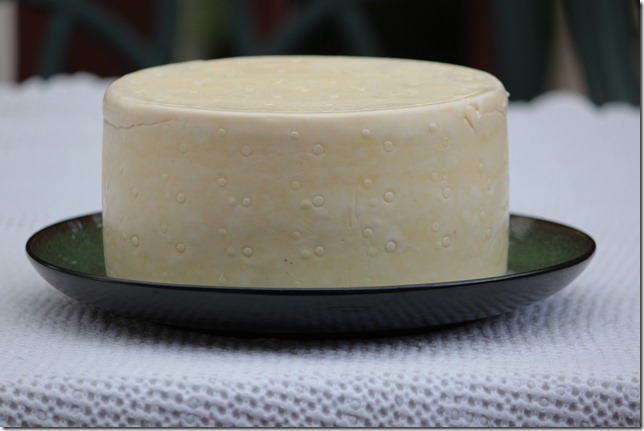
‘Tomme au Marc’, a French cheese that is aged in marc. I made two cheeses, first I made a 3 gallon version (easier at home), and I also made a 6 gallon one (pictured in this post).
Recipe
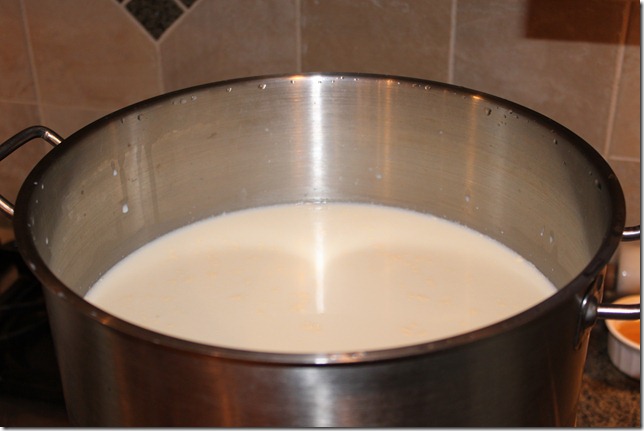
I used the recipe found here. First I started with 6 gallons of Twin Brooks Creamery whole milk.
Step 1) Sterilize the following kitchen equipment by washing in hot water and 1 tsp of bleach:
1 – stainless steel pot large enough to hold the milk
1 – stainless steel prep bowl
1 – stainless steel slotted mixing spoon with a long handle
1 – long narrow knife
1 – large piece of cheese cloth
1 – cheese mould
1 – stainless steel colander
Step 2) I warmed it to 91 degrees Fahrenheit and added:
3/32 tsp Mesophilic culture
3/64 tsp Thermophilic culture
You can buy those cultures at cheesemaking.com. It’s important to bring it to that temp very slowly (so as to not hurt the proteins in the milk). Once the culture is added and stirred in very well, cover and let sit for 45 minutes (ripen the milk).
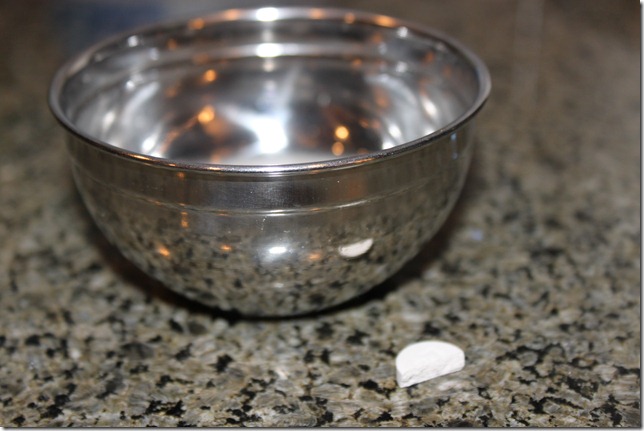
Step 3) Mix the following into the prep bowl:
1/2 tablet rennet
2 Tbsp purified water
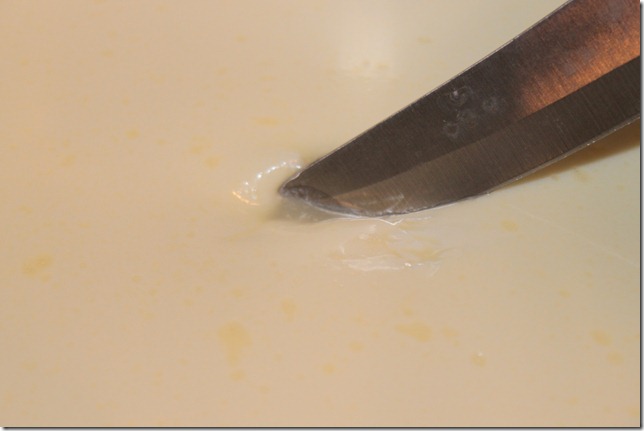
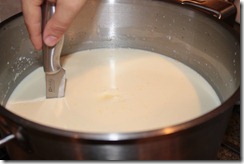
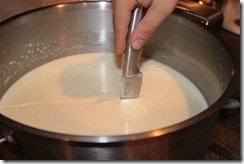
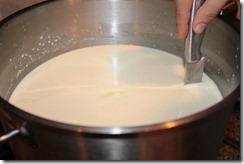
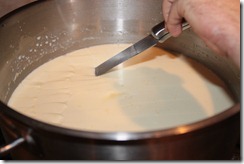
Now using the slotted spoon, pour the rennet mixture into the milk and stir thoroughly for at least 1 minute. Cover the pot and keep at 91 degrees for 12-20 minutes or until the curd is set. You will know when the curd is set if when you press the knife into the cheese and the curd holds its form and whey fills the gap.
Step 4) Cut the curd
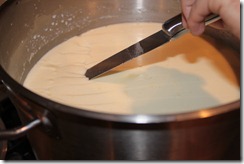
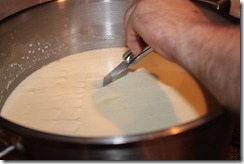
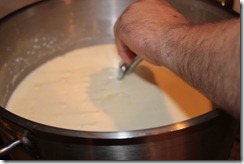
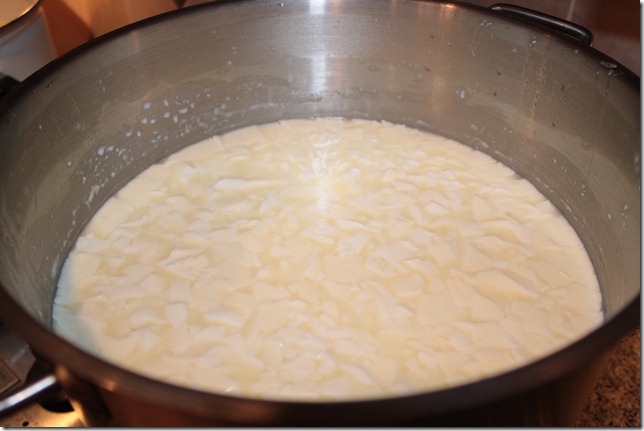
Using the knife, cut the curd into very small squares (1/4 inch or so). You’ll need to cut diagonally through the curd, crisscrossing the different directions (remember that the curd is thick). After cutting the curd let it rest for 10 minutes then stir continually with the spoon for 10 more.
Step 5) Cook the curd
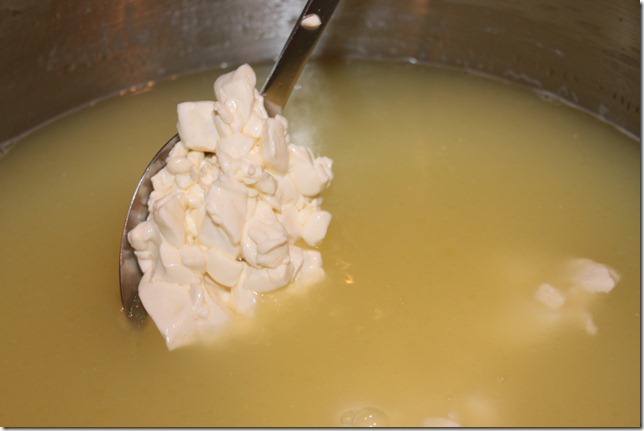
Now slowly raise the temperature of the curd to 98 degrees over 30 minutes time stirring often. As the curd cooks it will expel water and begin to stink and clump together. Make sure that the curd does not overcook or you will end up with too dry of a cheese.
Step 6) Transfer the curds to the mould
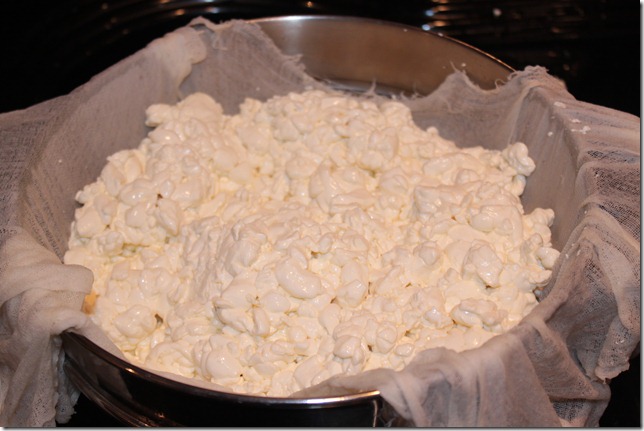
Dip the cheesecloth into the hot whey then line the mould with it. Separate the curd from the whey by scooping it all out with the slotted spoon or pouring the contents of the pot into the prepared colander. Transfer the curds to the mould.
Step 7) Press the curds – light
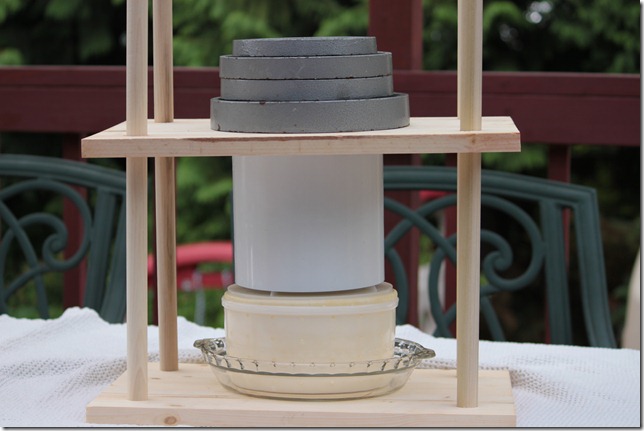
Press the curds for 30 minutes with 8lbs of weight, then flip the cheese and press again for 20 more minutes.
Step 8) Press the curds – heavy
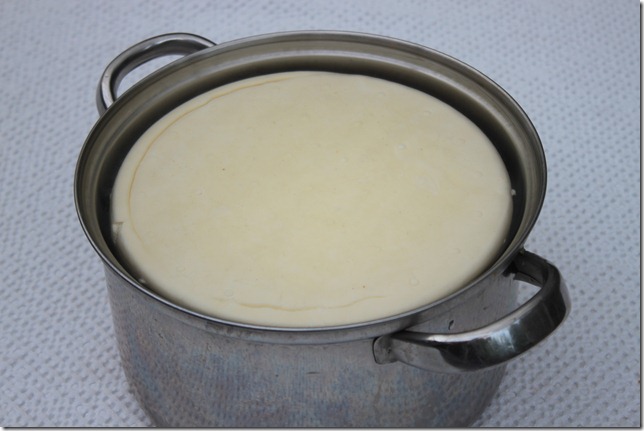
Now flip the cheese again and press at 25lbs overnight. To make sure that the cheese was nice and even, I flipped it every few hours.
You’ll notice that I’ve built a simple press out of some pieces of wood and dowels. Make sure and empty whatever you have catching the whey often.
Step 9) Brine the cheese
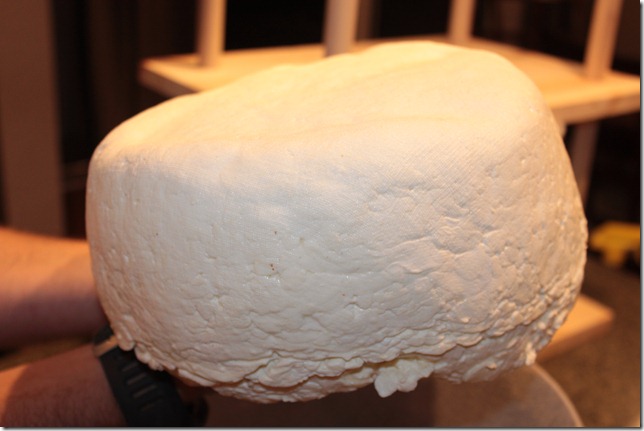
Remove the cheese from the mould…
and place in a brine (heavily salted water).
Brine for 24 hours. This will help create a rind on the cheese.
Step 10) Initial aging – 1-2 weeks
Place the cheese somewhere safe and clean at a constant temperature of 55 degrees and a humidity of around 80%. I do this in a simple wine fridge with a bowl of water and a humidity gauge.
Leave it there for 1-2 weeks.
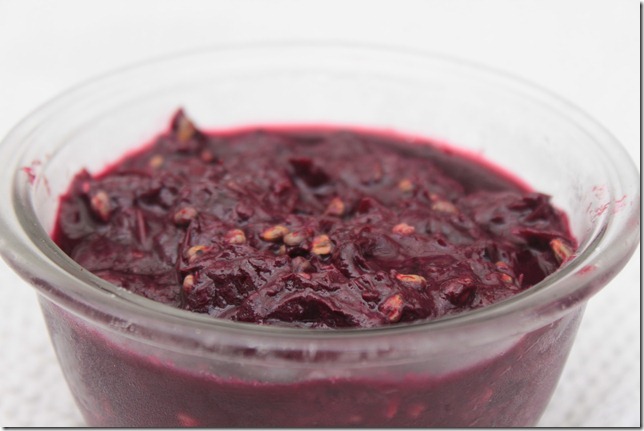
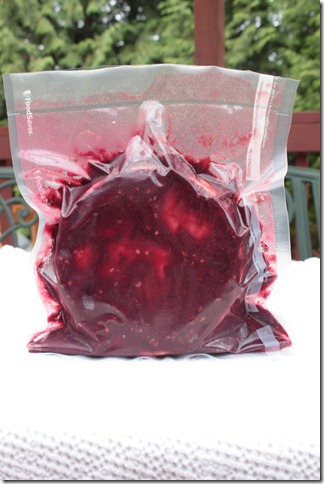
Step 11) Pack the cheese in grape skins and seeds (and a dash of red wine).
Seal tightly and return to the aging chamber for 2-3 months.
In 2-3 months I’ll return to this cheese with another post about what to do next so stay tuned!
![IMG_3834[1] IMG_3834[1]](http://www.moonlitkitchen.com/wp-content/uploads/2010/09/IMG_38341_thumb.jpg)
Sir: Step 10. I suggest rotating the cheese once a day.
Nice receipe.
Good call, I forgot to mention that. Yes, I rotate my cheese once a day, at least for the first few weeks.
That does look hard. You’ll have to sum up the time spent on it. Hope I get to try some.
Good job on the pictures. Remember that on the white subjects you’ll sometimes need to adjust the exposure on the camera up so that whites turn out white instead of grey.