I’ve been waiting to do this series for a very long time. Actually, in some ways its been years in the making. My quest for the perfect pizza is an ongoing obsession. By delivering these posts, I am not claiming to have achieved pizza perfection, but I at least have reached a level that I’m happy enough to share (Oh yeah, it’s good!). I also have gathered enough pictures of my pizza oven and process to share.
Wood Fired Oven
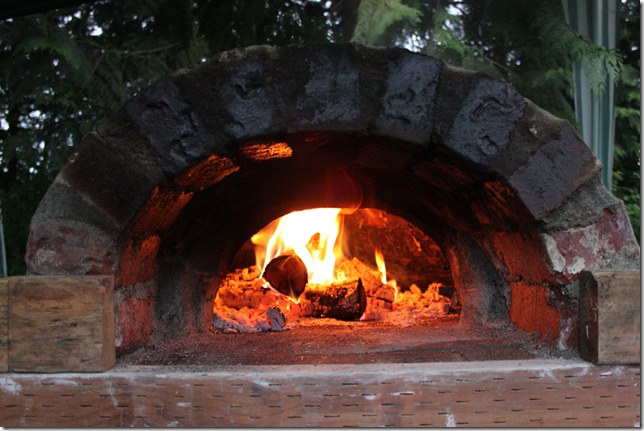
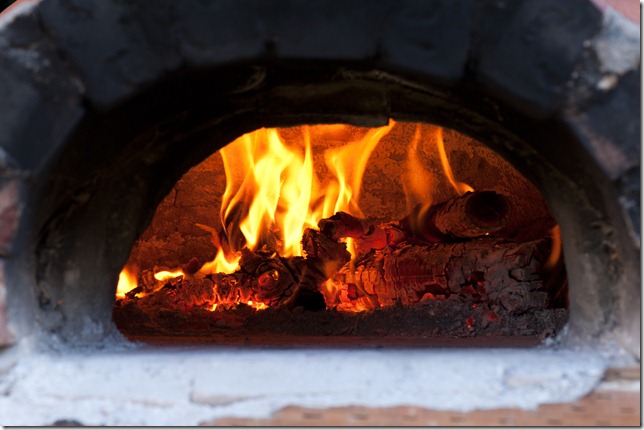
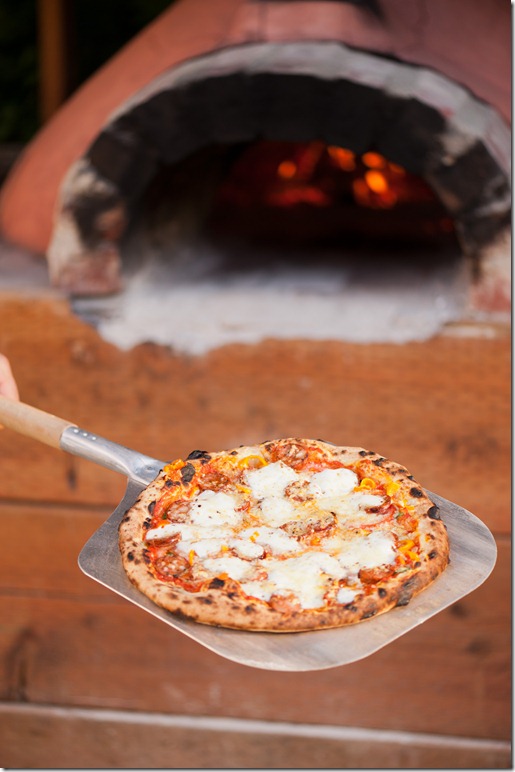
The first step towards creating perfect Napolitano pizza (Naples style) is to have a wood fired oven. Now, if you don’t have a wood fired oven and don’t plan on making/buying one, keep reading as the pizza recipe itself it still very good on a pizza stone in your oven. Nothing can compare to the taste and texture that comes from using a wood fired oven. The secret lies not only in the smoky flavor that it imparts but also the amazing amount of heat that the pizza is cooked in. The average home oven only goes up to 500-550 degrees Fahrenheit, where my pizza oven regularly reaches temps near 1000 degrees! This extremely hot environment that the pizza is placed into causes the water inside the dough to instantly boil, giving the crust an airy texture that is like nothing else. It also causes little blisters in the outside of the crust that char up, giving the crust a smoky, crunchy finish.
I had planned on building some sort of wood fired oven for a very long time. Originally I had planned on building it out of brick (which makes for beautiful ovens) but I found that I always procrastinated the project due to cost. I would still like to build a brick oven some day in my “dream house”. There are a lot of beautiful plans out there like these from a brick mason in Australia named Rado. I bought his plans years ago and still find them to be the best online.
My original plan was to slowly gather up the materials necessary to build the oven through craiglist whenever I could find people giving away brick, etc. One day a local Seattle chef was offering firebrick for free on Craigslist. I met at his home just to find out that to get the firebrick I’d need to dismantle his old clay oven. We went out to his back yard to see the oven and it was a miserable site. It basically looked like a pile of mud and rocks with a dome of mud and straw on top. It looked awful! I was shocked. I asked him what it was supposed to be, which is when he introduced me to “Cob ovens”. Cob is one of the oldest building technologies in the world. It is basically just clay, sand, and straw. It is sustainable and highly insular. As I looked at this mess of an oven, I could tell that one, I didn’t want to mess with dismantling his mess for a few bricks (the stipulation was that part of getting the free bricks was that I had to haul away all of the rest of the junk) and two, I could build one much prettier.
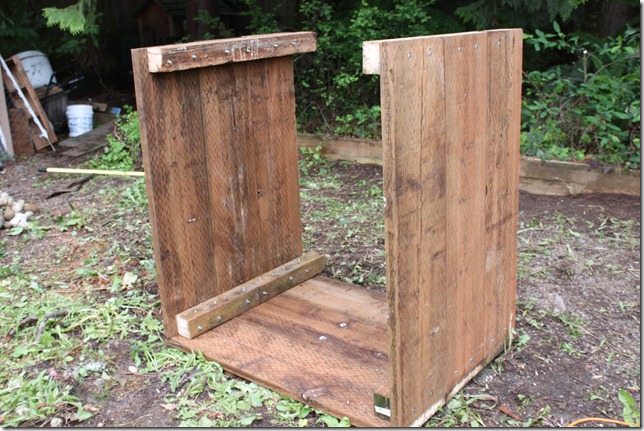
I started by clearing an area in my yard and leveling it out. I then stamped it down very firmly so that I wouldn’t have later issues with settling. In the other cob oven that I had seen, the guy’s entire corner of his yard was sliding down a hill due to the weight of his oven.
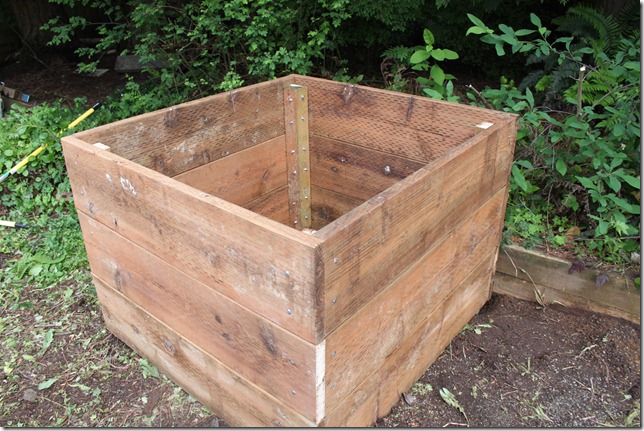
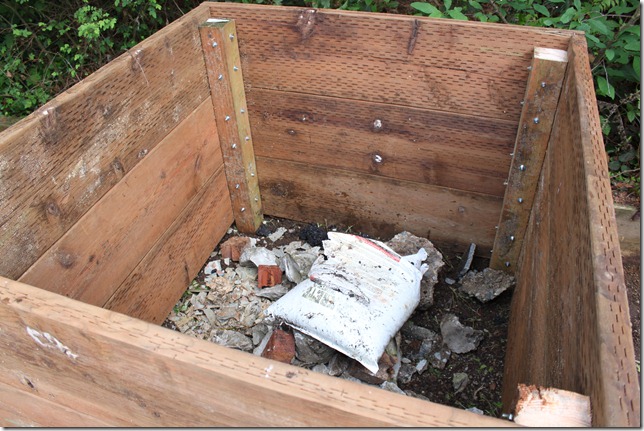
From there I built a box out of 2×12 treated lumber. I then began to fill it with all of the scrap brick, rocks, cement that I could find in my large and a brick yard’s refuse bin.
This only filled the box about 2/3rds the way full. From there I began to fill the box with pea gravel until it was about 3/4 of the way full. My sons and I had fun jumping inside the box to cause it to settle. Once it was all very compact we added a thick layer of sand and then the firebrick. I was lucky enough to find firebrick through a local brickyard very cheaply. About half of it was in their refuse bin, the rest I bought as part of the end of a batch for pennies on the dollar. In the end, all of the materials for the oven cost me around $100, the wood being the most expensive part.
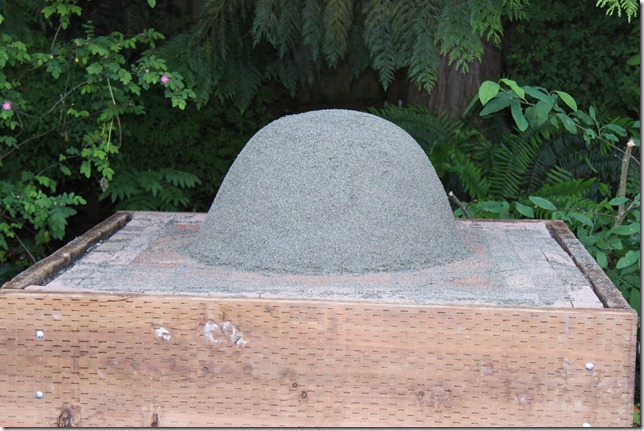
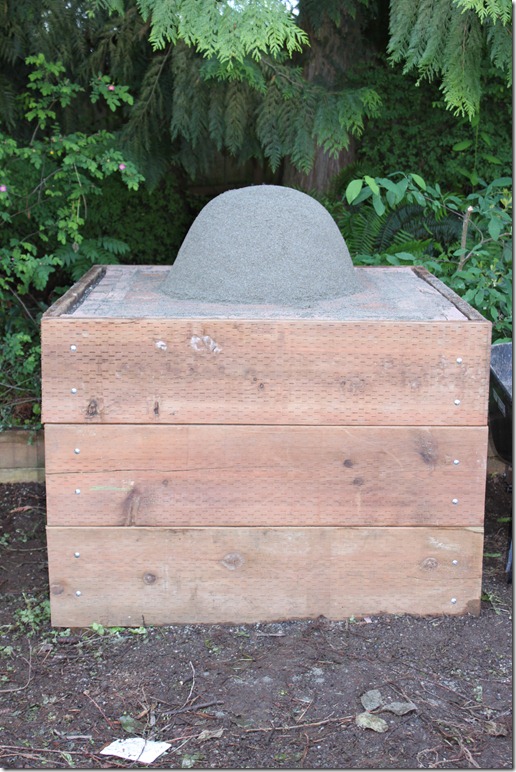
After I had placed and leveled the firebrick, I built the form for the inside of the oven out of wet sand. It was basically like building a sandcastle. This sand was basic course yard sand and I shaped it with a stick.
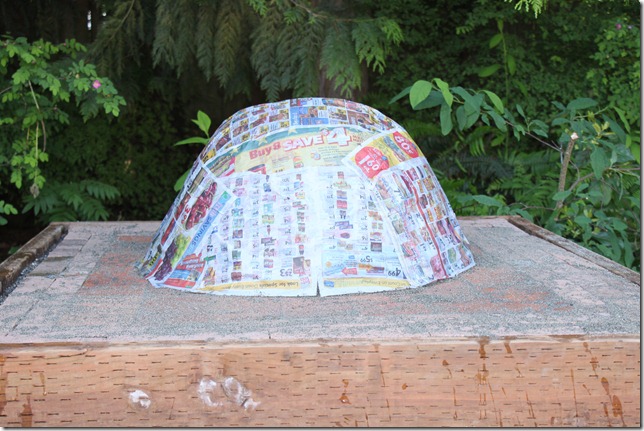
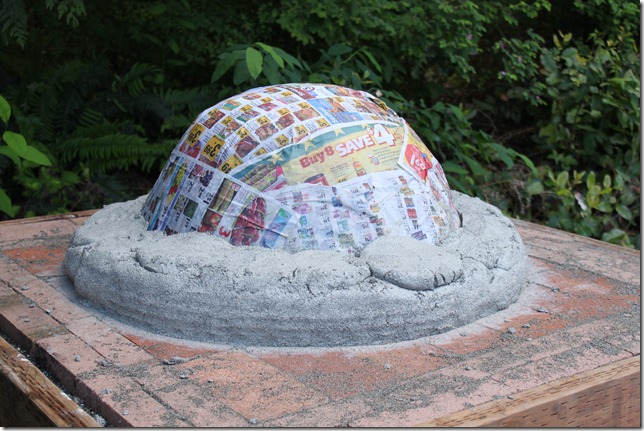
I then covered the form with some wet newspaper. This would act as a barrier between the form and the inner layer of the oven when it came time to remove the form.
It was then time to learn how to make cob. For the first layer, the cob was a little different in that it only consisted of clay and sand (no straw). This is a very hard inner layer that takes a real beating. It also is better if its smooth and not full of small flammable particles (since the fire will directly hit it). Many people us clay that they gather from their yards or a river bank. I wasn’t so “green”. Instead I bought two bags of potter’s clay from a pottery shop. It was rather inexpensive, pre-powdered, and much easier and reliable to work with. I would recommend this (though if I ever were to built an oven like this in Utah, where I’m originally from, I’d be tempted to just dig up some of the soil in the yard.
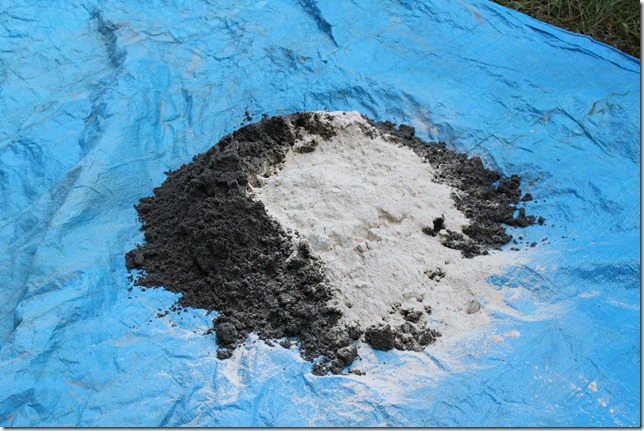
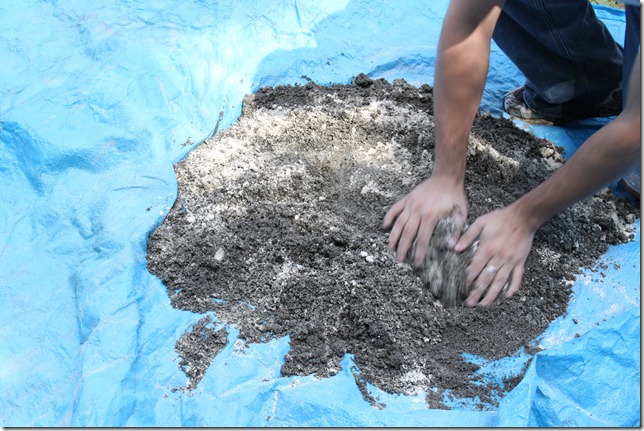
To make the cob, I mixed the clay with builder’s sand at a ratio of about 1:5. It is much easier to pre-mix this before adding water. Once the water was added, we mixed by hand and foot by stomping around in the pile (notice that I did all of this mixing on a tarp). Apparently “Cobbing” parties are common where everyone comes and helps in this step but I figured that my friends already think that I’m weird enough as it is. Once the mixture was thoroughly mixed, I began to make “bricks” (more like mud pies) using handfulls of cob. I would roll it until it sort of gained surface tension then placed it around the form.
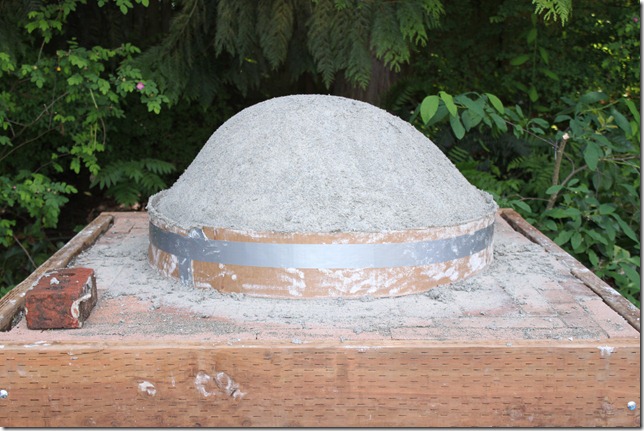
I would use my fingers to press the “bricks” together. I would also make little divots in the bricks with my fingers so that the next bricks would mesh better. I went around and around, slowly walking up the form. This layer was 4-5 inches thick.
My cob ended up a bit softer than most of the examples that I’ve seen online so I actually added a ring around the bottom so that it wouldn’t sag too much (some sagging seems inevitable). This worked very well for me and was only needed on the first layer. I then let the first layer dry for several days (here in the Northwest it takes a bit longer than other areas due to our cool, humid weather).
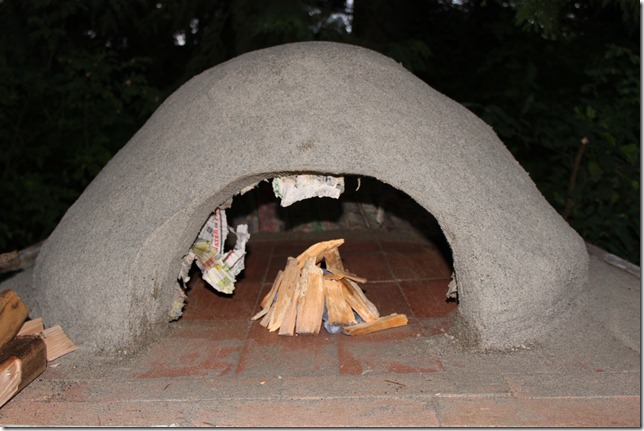
Once the inner layer had dried for several days and seemed firm, I removed the form ring and, using a box cutter, carefully cut an arch in the cob. Conventional wisdom states that the best air flow occurs if the height of the door is 66% of the overall height of the inside of the dome. This worked out to be about 14 inches. I cut the door away then removed the inner contents. This is by far the most difficult and nerve wracking thing that must be done for a pizza oven as the clay is firm but still quite soft.
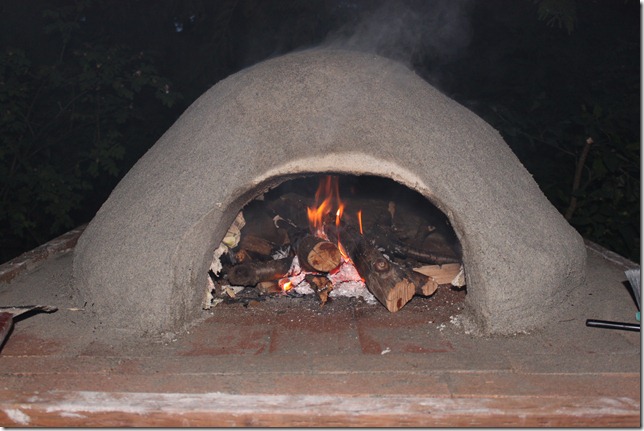
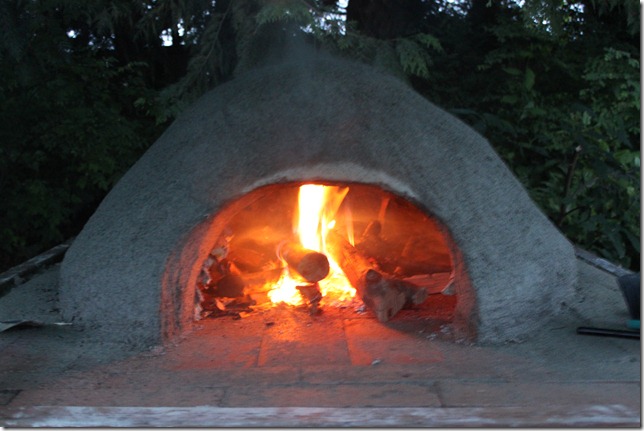
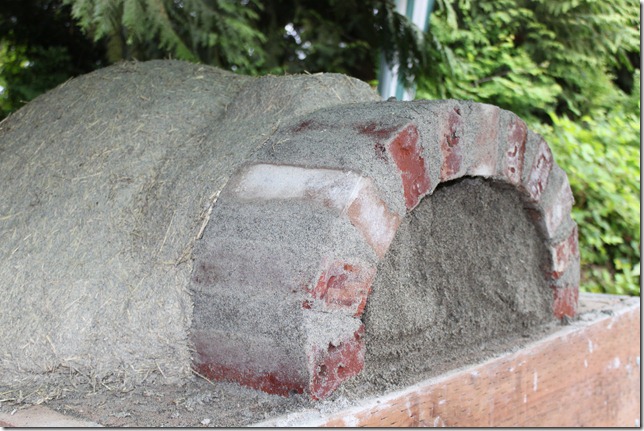
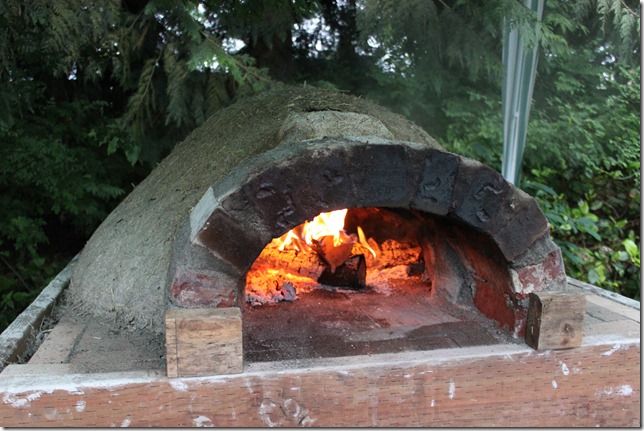
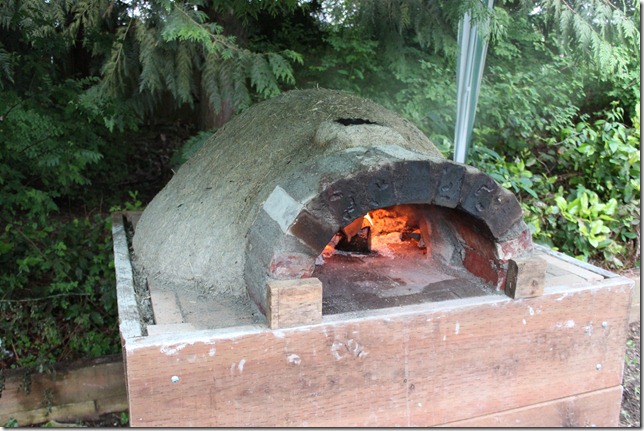
Once the inner sand form was cleared away, I fired the dome by building a very hot fire within. You can see from the picture above that the lip of the entrance was the first part to really dry and harden (see the lighter shade), also the vapor on the top of the dome see there is actually steam coming off of the dome. I fired the dome for about 4 hours that night. Because the lower parts of the walls were so thick, the inside was entirely fired but a bit of the outside was not, all in all it was firm though and ready for the next layer.
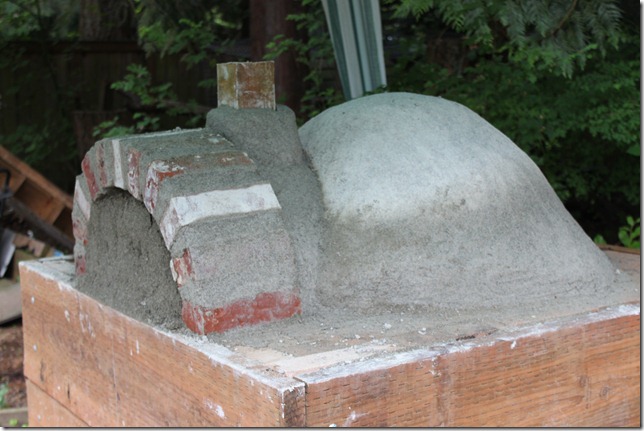
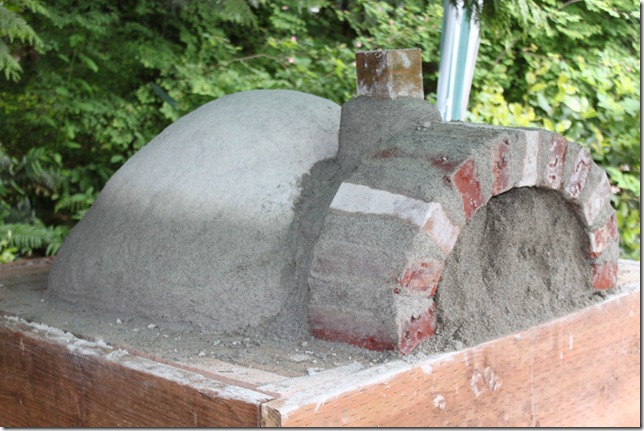
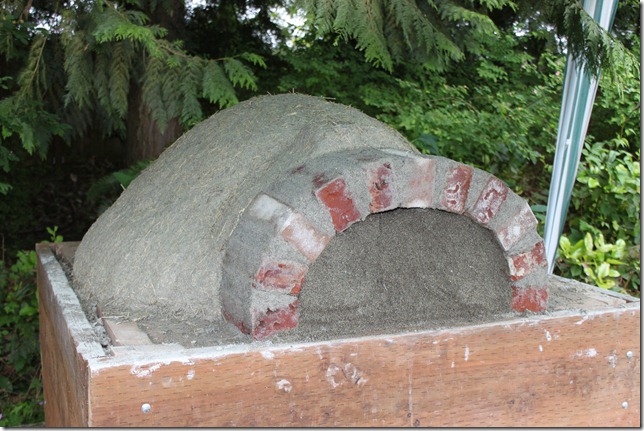
As part of the next phase, I built the archway and chimney. To do this a created another form out of wet sand that extended from the entrance to the dome out to the edge of the platform. I placed a piece of 4×4 wood in the top to act as the form for the chimney. From here I mixed some more cob around that form and an archway of brick as seen in the pictures above. The “grout” for the bricks was just more cob. I let this dry overnight.
At this point I then added the most important main layer to the oven. This was a thick layer of true cob, sand, clay, and straw. We chopped the straw up before using it. The ratios were 1:4:3, clay: sand: straw. I mixed this (along with water) until a thick cob was form. This involved a lot of stomping in bare feet (think Moses in “The Ten Commandments”). I then formed “bricks” similar to the first layer (though it was easier with the addition of the straw) and covered the entire oven as seen in the pictures above. This layer ended up being about 6-8 inches thick
I then removed the form sand and fired the oven for 6-8 hours, or until the outer layer had hardened considerably. At this point the oven was fully functional. The straw acted as an amazing insulator and the internal temp of the oven would reach around 800 degrees. We actually began using the oven at this point (though there was a final layer to come) which helped to continue to dry out the oven.
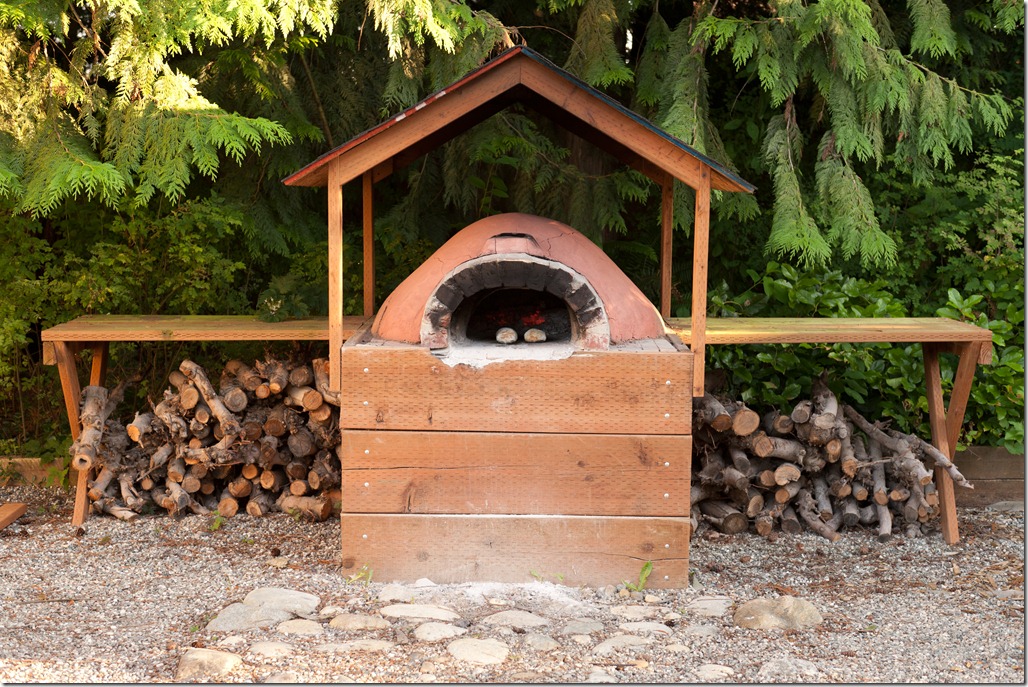
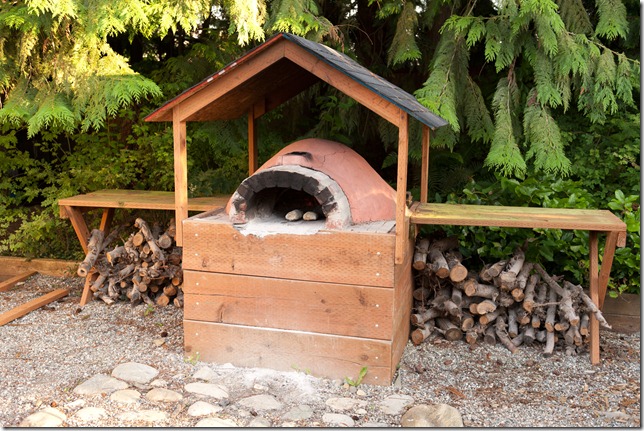
The final stage was to add a thin aesthetic layer to the outside. For this a mixed a small batch of cob like the one for the first layer (just sand and clay). I mixed in a little terra cotta brick coloring (you can find it at the Home Depot) which gave the oven a lovely terra cotta color. I spread this thin layer on (maybe only 1” thick), then floated it with a brick mason’s float until it was very smooth. I added a roof and side tables as cob ovens will melt in the rain. I then purchased kiln dried apple wood from a local purveyor that sells to pizza restaurants. Its hard and burns very clean, allowing for a hot burn.
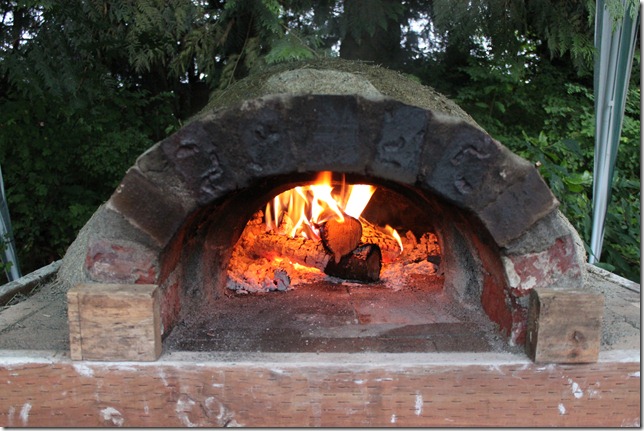
Now that the oven has had many firings, it is entirely dry and regularly reaches 1000 degrees. It takes about 3 hours of firing to get to that sort of heat. Since it is so hot, it means that the pizza will cook in about 90 seconds!
You’ll notice if you look very closely that the exterior has cracks all over it. This is actually expected. As the oven heats up (and boy does it heat up!) it expands. The cracks allow it to expand and due to the layering of the oven, it doesn’t collapse (as the cracks end up in different places in each layer. The hotter it gets, the wider the fissures. As it cools, the oven detracts and the cracks become less noticeable.
Building a cob oven is a fun and relatively inexpensive project. It was surprisingly easier than I expected. It makes for fun summer parties as friends gather around and make and enjoy amazing pizza that they feel a connection to. The best of all is that the heat, smoke, and insular properties of the oven allow you to create some of the best pizza you will ever taste…but that is for the next post!

Oh Thayn, why can’t we be neighbors?!! This pizza oven looks amazing. If only our yard was big enough… Can’t wait for the rest of the pizza series.
Loved the post Thayn – makes me want to try and build one in my yard. I’m just concerned about what having an oven like this it would do to by figure… 😉
Wow! Wow! what a fantastic, informative post. I wish I could make a wood-fired oven, but I’m a grad student living in student housing. . . This post makes me want to hurry and get my PhD so that I can buy a house with a yard that would be perfect for making one of these hehehehe. Thanks for the process photos!
Glad you like it. It was surprisingly easy but yes, it takes a little yard space. 🙂
this is easily the most amazing construction/food blog post I have ever read. I’m totally going to bookmark this for later (as in 20 years down the line probably) when I can use these directions; thanks a bunch!
I think that I’ll stick it out with my pizza stone for now, but I CANNOT wait for the crust recipe!!!!
Thayn, Great post. I’ve been trying to find some way to build an inexpensive pizza oven…. and now I can! The idea for the base is simple and effective. Searching the web left me depressed….. not only about cost but design and difficulty. Now I just need to find some cheap fire brick and powdered clay. Can you tell me approx. demensions? Thanks.
The dimensions of the box are 4 feet by 4 feet (by 4 feet tall). If I made another one (and had more room), I’d make it slightly bigger, but that is only because I like to use it for larger gatherings and parties. It works fine for one pizza at a time or two dishes of chicken, steak, etc.
Coming soon!
Jealousy…that is all I can say.