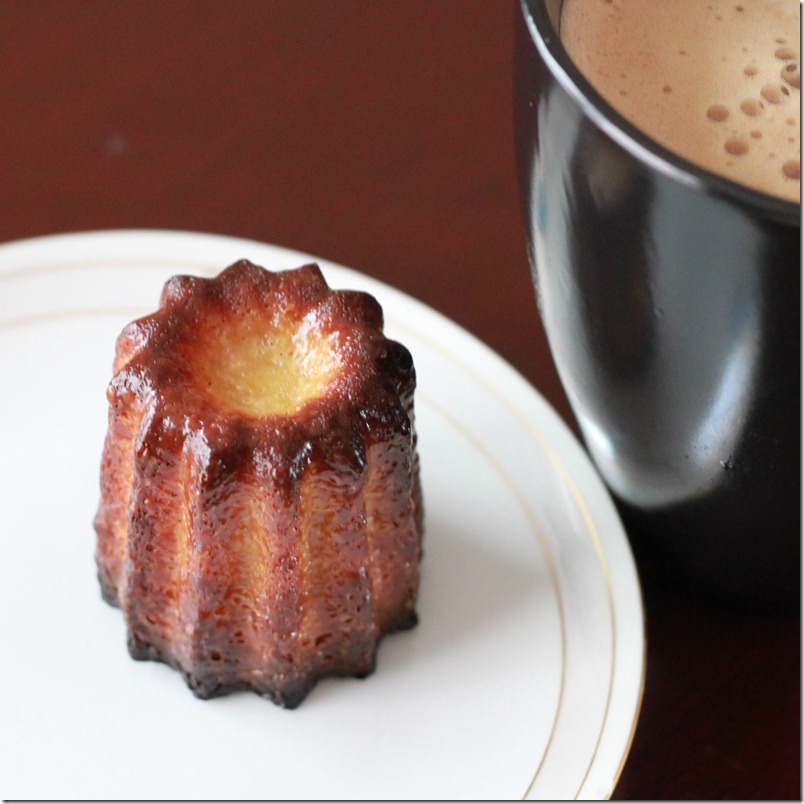
Canelés are an amazing French pastry. I’ve been obsessed with learning to make them perfectly for over a year now. You can see an example from last May in the final course of my Mother’s day dinner. Allegedly, they were originally created by the nuns of the convent of Annonciades, in Bordeaux, France. The recipe was held in secret for ages. Today they are becoming more common. Personally, I think that these are the next chic French pastry on the culinary horizon. Just as French macarons have taken the foodie world by storm in the past few years, I think that canelés will soon be just as popular. The wonderful thing about canelés is the varying flavors and textures. The outside of a canelé is dark, smokey, caramelized, and crunchy. It is almost burnt on the outside (in a good way). It adds depth and complexity. The inside is soft and custardy. It’s everything that a cruller is, but better and more. Can you tell that I like them?
They are traditionally baked in copper molds which are very expensive! This link points to the best price that I can find on a real copper canelé mold (on amazon) but the molds still cost $22 a piece! Another alternative that has recently become available is to buy a silicone mold. I bought two different silicone canelé molds over time and found that this mold was the best.
Ingredients (originally from here)
2 cups – Whole milk
2 Tbsp. – Salted butter
1 pod – Vanilla, split (optionally, 1 tsp. vanilla)
3/4 cup – All-purpose flour
1 tsp. – Kosher salt
1 cup minus 2 Tbsp. – Granulated sugar
3 – Large eggs, room temperature
1/3 cup – Dark rum
Add the milk, butter, and vanilla in a medium sauce pan. Heat on medium heat until it reaches a simmer. Combine the flour, salt, and sugar in the mixing bowl of a stand mixer. Break the eggs in a separate bowl and beat lightly. The goal is to avoid all air in the batter so in each step, beat very lightly and gently. Once the milk and butter mixture simmers, remove it from the heat and find the vanilla pod. Using a paring knife, scrape every bit of the insides of the pod into the milk mixture and stir to incorporate. The remaining pod can be rinsed, and dried, then added to a bowl of sugar to make vanilla sugar (for other uses). Add the eggs and milk mixture (at the same time) to the flour mixture and gently combine until it is well combined (but don’t over stir!). The flour mixture tends to want to settle and clump so gently work the batter smooth.
Once the batter is well incorporated, pass it through a fine sieve to remove any lasting lumps and bits of unincorporated egg white. Place the batter in a small, airtight container, stir in the rum, then refrigerate for 2 to 3 days.
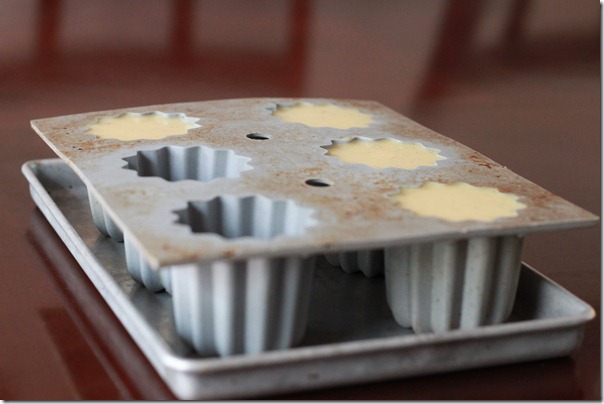
After 2-3 days, preheat oven to 480 degrees Fahrenheit. While the oven is preheating, place the mold on a baking sheet (if you have copper molds, rub with butter or wax-butter). Place in the oven and preheat for at least 20 minutes or until very hot.
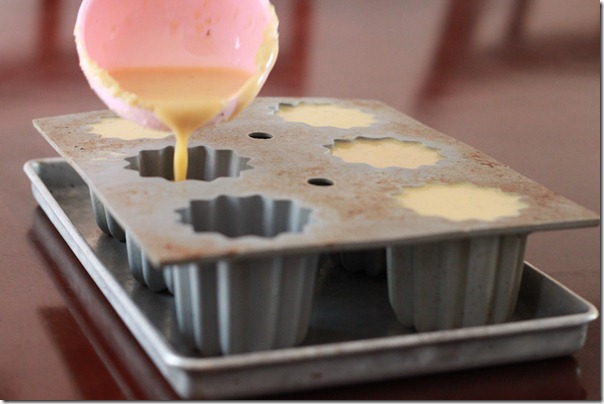
Remove the batter from the refrigerator and while still very cold, add to the hot molds. Fill to the top of the mold and instantly place in the oven.
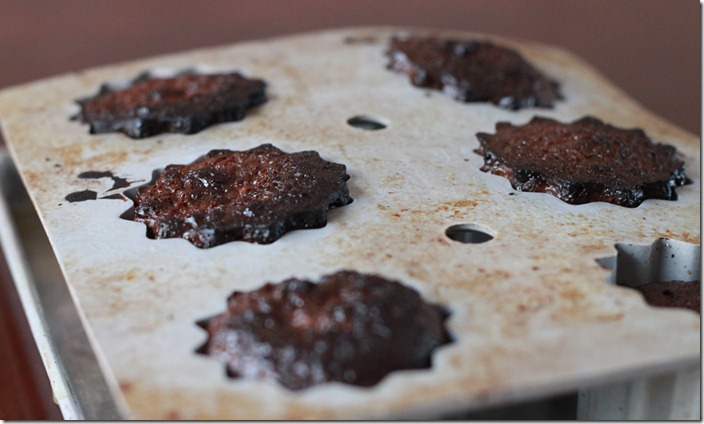
Bake for 20 minutes at 480 degrees, then, without opening the door (never open the door on this recipe!), drop the oven temp to 400 degrees for another 35-40 minutes (each oven is different). The canelés should be very dark on the bottom but not burnt.
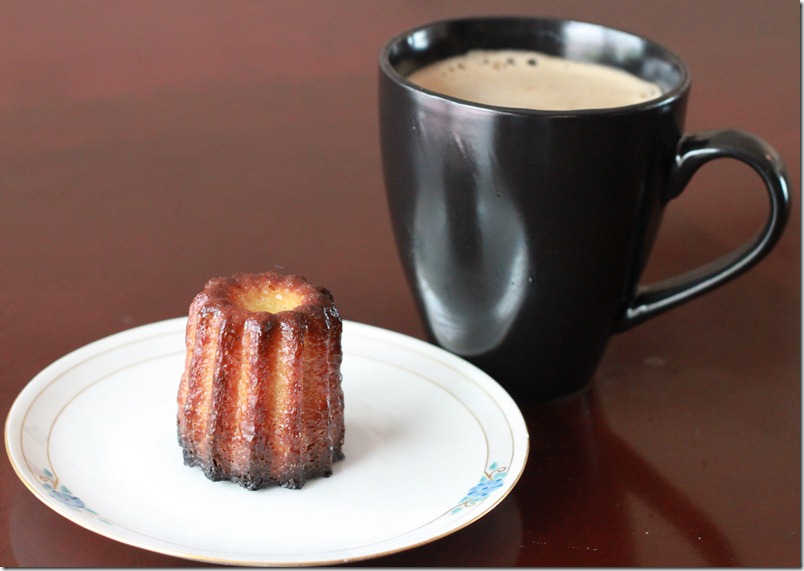
Unmold onto a cooling rack and cool for 10-15 minutes. Serve warm. They can be eaten for up to 4 hours after baking. If eaten after that, return to a 500 degree oven for 5-10 minutes to re-crisp. I don’t drink coffee (I do love me some Pero though!), but if I did, this would be the ultimate companion.
I love a good canele, but haver never tried making them myself. That might change soon after this post: gorgeous!
Nice post! We have a recipe in the pile of books for these and have always meant to make them. Thanks for the mold link!
wow. they sure look gorgeous! I wonder if I could make them without the ‘special’ pan…
I got to try this! I got to ! I got to!! oh dear! i’m drooling!
I’m glad you like the pics! These are actually not too hard to make, so you should definitely try. The biggest thing is to let them cook long enough. I know know about using a different mold, maybe a small cupcake pan? If you succeed, please post back with your results.
Also, if you like this post, please feel free to ‘like’ me on Facebook (link in the right pane). It’s a great way to get updates on my different posts. 🙂
These guys look scrumptious! Yum!
lovely! I recently ate one and absolutely loved it! I’ve bought some copper moulds from Seoul last year and have yet to use it. Does the temperature differ if using copper moulds? thanks
I’m not sure if the tempt is different. I travel to Taiwan regularly though and hope to score some copper moulds there at a more reasonable price. Make sure and butter the moulds before using them. Paula Wolfert has one of the most famous recipes for Caneles (I think the one I’ve posted is slightly better) and talks about creating “white oil” for coating your moulds. I’ve made some but found it unnecessary for the silicone moulds. Also remember to warm your moulds before adding the batter.
Good luck and feel free to come back and report on your experience!
Why do you need to make the batter a couple days in advance?
I researched this a bit and came up empty, but all recipes do this. Here is my best guess: 1) It helps remove air from the batter and 2) It allows the flour to fully soak up the moisture.
Your caneles look awesome. Thinking of buying the silicone mold. Is it safe to preheat the silicone mold for 20mins without any batter inside ? Or does this preheating only apply to the metal molds?
Thanks,
Susanna
The preheat is only for the silicone molds. The metal molds should be chilled only.
hi, I’ve tried your recipe, word by word, but at the 20th minute thay have raised like 3 cm, whats wrong?
Do you know if I can substitute amaretto for the rum?
Yes. A spiced rum would be nice as well.