A while back I started a series of posts on how to make an authentic Napolitano style pizza in your own home. I started with steps on how to build your own wood fired pizza oven for less than $500. From there I’ve had discussion on homemade ricotta and mozzarella cheese. Today we are going to conclude the series with the final steps: making the dough, sauce, and pizza!
Here are the previous posts:
-
Napolitano Pizza Series–Part 1, The Wood Fired Oven
-
Napolitano Pizza Series–Part 2, Ricotta Cheese
-
Napolitano Pizza Series–Part 3, 30 Minute Mozzarella
Now, if you are ready to stop reading this post because you’ll don’t plan on building a pizza oven, don’t worry about it! There are a lot of other options these days.
First, pizza stones for your oven are great and easy to come by. You can find a simple square one here. The nice thing about pizza stones for your home oven is that they are fairly cheap and in most department stores (even Walmart). The issue is that home ovens don’t get hot enough to really get a great pizza (you can get a very nice pizza though). Another option is to use a pizza stone for your barbeque grill. Here is a nice model that you can buy online. Barbeques heat a lot higher than home ovens and also can give a bit of that smoky taste. The cheapest option of all is to preheat a cast iron skillet in the oven on it’s highest setting and bake it in there.
The Dough
The next step is to make the dough. This recipe is incredibly delicate and a tad tricky to work with so the ingredients are done by weight. If you don’t have a kitchen scale, I recommend purchasing one. They are not expensive and incredibly useful for ensuring that you are accurate in any recipe where it matters.
Another thing that I do for my dough is use Italian Type “00” flour. This is the type of flour used in Italy for making pizza. I use Caputo brand flour. I was lucky to find a restaurant supply warehouse in the Seattle area that carries it (for cheaper than I found it online). While normal bread flour is a fine substitute, the Type 00 flour really does do that last 5% needed to make the perfect pizza!
Note: This dough should be made 3 days beforehand.
Pizza Dough (adapted from Peter Reinhart’s recipe in The Bread Baker’s Apprentice) (makes 4 pizzas)
20.25 oz – Caputo Type “00” flour (or substitute with bread or other high gluten flour)
1 oz – Extra virgin olive oil
0.44 oz – Kosher salt
1 tsp – Instant yeast
1 tsp – Baking powder
12.25 oz – Ice water
Add all ingredients to the large mixing bowl of a stand mixer. For moister climates, use less water (12-13 ounces), for drier climates use more. Using the paddle attachment, mix on low speed until the dough comes together and balls up on the paddle (about 1 minute). Let rest for 5 minutes. Using the dough hook, mix on low speed for 7 minutes. The dough will be very very sticky, this is expected.
Line a baking sheet with parchment (do not substitute with wax paper, I learned that the hard way). Coat the parchment in a generous amount of oil. Form the dough into 4 balls and place them on the parchment (see video below). Cover with an oiled piece of plastic wrap (or place the entire sheet into an oiled food bag. Immediately refrigerate for 3 days.
The Sauce
I discovered the idea of using a raw pizza sauce a few years ago from Jeff Varasano. The idea is that since the oven is so hot, why cook the sauce twice, risking an overcooked taste? I only use stewed tomatoes that have been home canned (usually from my garden or my parent’s garden) because the favor of a truly vine ripened tomato is so important for a truly great red sauce. There are other good sources of high quality canned tomatoes, so if you don’t have access to a farmer’s market or other fresh tomatoes, try digging around the internet (or try this).
Simple Pizza Sauce (enough for 10 pizzas)
1 Quart – Whole peeled stewed tomatoes
2 oz – extra virgin olive oil
2 tsp – kosher salt
1 tsp – course ground pepper
3 cloves – fresh garlic, chopped
Remove the tomatoes from their brine and squeeze over the sink to remove as much liquid (and remaining seeds) as possible. Place in a sieve and let drain an additional 10-20 minutes. Place in a food processor with the remaining ingredients and pulse just until smooth and well incorporated. Taste for salt.
The Pizza
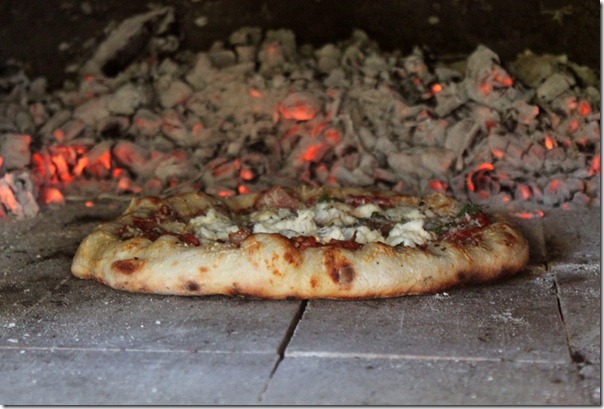
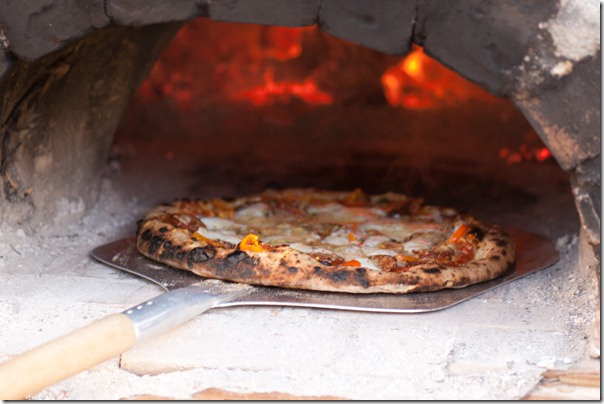
Here, I’m going to share how to make a simple Margherita pizza (though the pictures are of a various pizzas with different toppings) because I think a Margherita pizza is pizza at its purest and simplest. While I like other styles of pizza (including Chicago deep dish), the Napolitano pizza has a cleanness and simplicity that strives for perfection. The various forms of “American” pizza can be good (I’m not sure if there can be a “wrong” sort of pizza, heck, I even like some forms of frozen pizza), but they just aren’t quite the same. Even when I add toppings to Napolitano pizza, I never put more than 2 (usually only one) and I keep it sparse and simple. Since the crust is so thin, it can’t bear the weight of a lot of toppings. Also, the flavors are so pure, and the ingredients so well chosen, that adding a bunch of competing flavors just destroy the entire concept.
If you have to have toppings, these are the sorts of toppings that I recommend:
-
Thinly sliced Prosciutto
-
Fresh arugula (I add it on top during the last 15 seconds of bake time to just wilt a bit)
-
Portobello mushroom (thinly sliced)
-
Garden tomatoes (thinly sliced)
-
Zucchini (thinly sliced)
-
Fresh green olives (whole)
-
Pepperoni (for the kids!)
Wood Fired Pizza (single pizza)
1 ball – Pizza dough (see above)
2 Tbsp – Pizza sauce (see above)
4 oz – Fresh buffalo Mozzarella cheese (I find the fresh Mozzarella from Costco to be an adequate substitution)
5 leaves – Fresh basil
Fresh ground pepper
Extra virgin olive oil
Semolina flour for dusting
Light the fire in the pizza oven (I do this about 3 hours before I want to eat) and keep it going hot! Ideally, the inside top of the oven will reach 1000 degrees. If using a barbeque or oven, crank them as high as they will go and preheat pizza stone for at least 30 minutes.
Remove dough from the refrigerator roughly two hours before it is time to eat.
Generously coat a pizza peel with flour (I have several peels and I like to use a wooden peel for preparing a pizza and sliding it into the oven, and a metal peel for taking it out). Gently remove the ball (it will be more like a patty at this point) of dough from the parchment, caring not to lose it’s shape. Place on the floured peel. Dust with a bit more Semolina flour (it will be very sticky). Gently pull on the sides to form a crust. DO NOT ROLL! Rolling loses precious bubbles and structure. A gentle stretch will be plenty. The pizza crust should end up about 10 inches in diameter and between 1/16 and 1/8 of an inch thick.
Check that the crust hasn’t stuck to the peel by gently shaking it around a bit. If it’s stuck then add more flour below! Repeat this trick often as you are preparing the pizza.
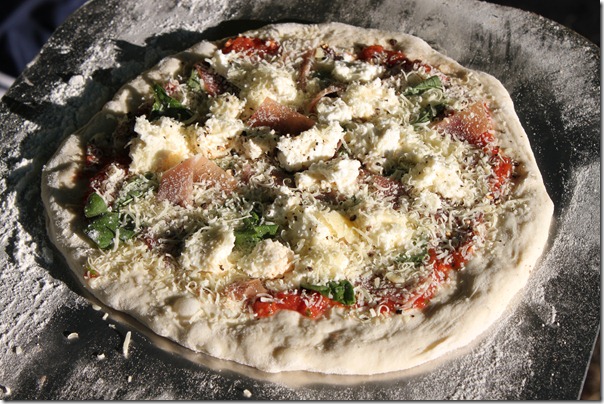
Add sauce, spreading gently until it reaches about 2-3 inches from the outside edge. Brush the remaining edge with olive oil. Break the basil leaves into halves and disperse evenly on the sauce. Place broken bits and slices of cheese evenly on the sauce as well. Dust with pepper.
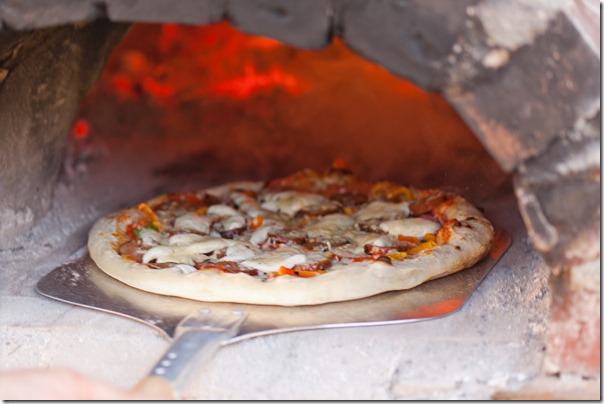
Add to the oven by gently sliding the pizza off of the peel and onto the oven floor (or stone surface). Leave about 3-5 inches from the active coals (or one edge will burn). 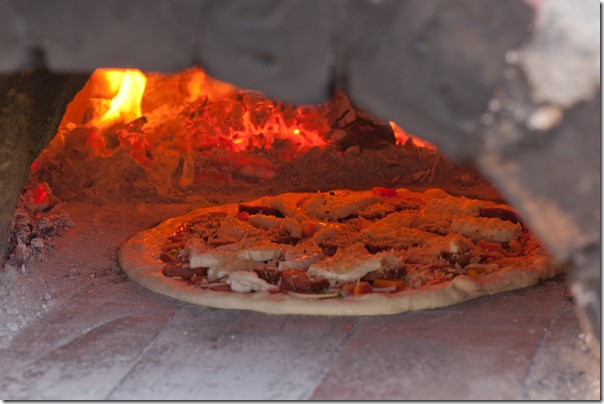
After about 45 seconds or when the side closest to the fire seems ready, turn the pizza by gently scooping it up the with peel and grabbing the cooked edge then return it to the oven (see video below).
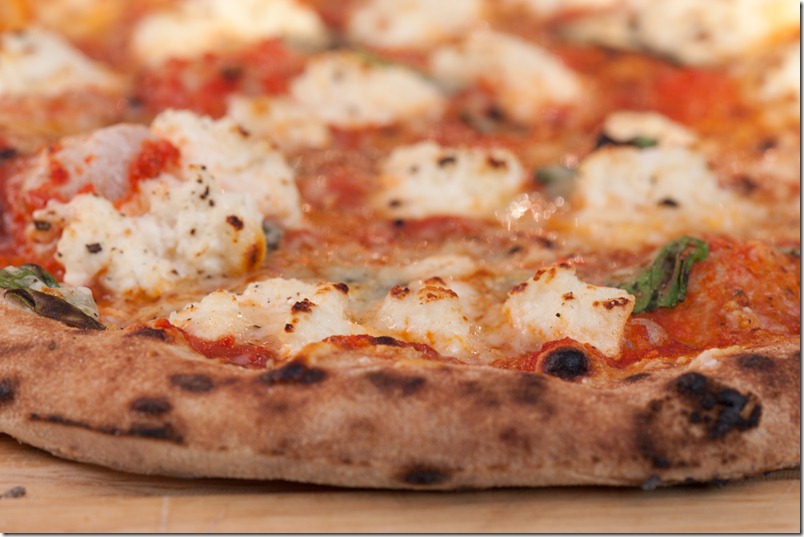
Once the pizza is nice and charred in little bubbles on the crust, remove from the oven.
Note: I find that friends trying this for the first time in my oven often remove the pizza too early. It’s ok to have a bit of char in places. This is a good thing.
Let the pizza rest for 2-3 minutes before cutting (if possible ![]() ).
).
One thought on “Napolitano Pizza Series–Part 4, The Pizza”