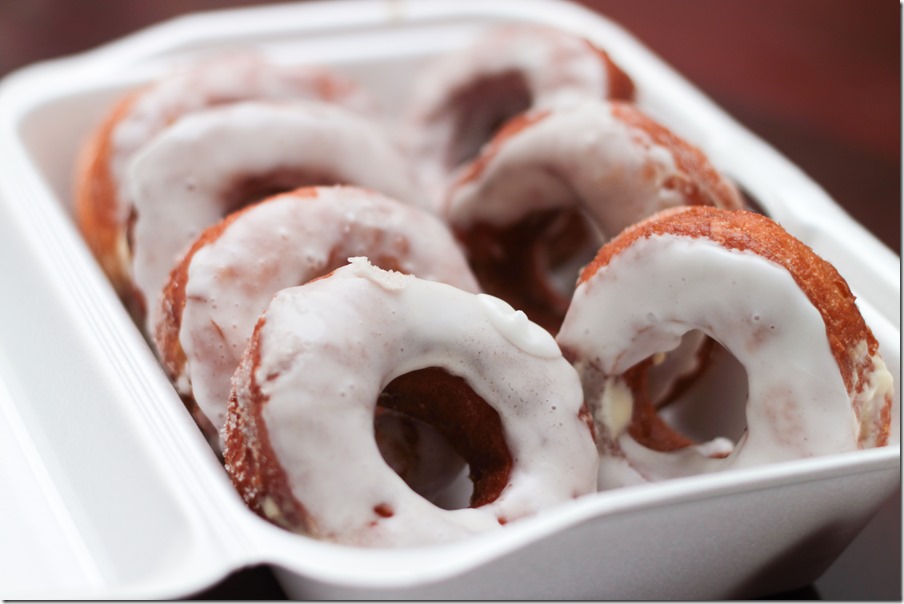
In case you haven’t heard, the Cronut™ is this year’s hot food trend. Chef Dominique Ansel came up with the idea of using croissant dough to make donuts. They are then filled with pastry cream, tossed in sugar, and glazed. It was launched on May 10th 2013 and since then there have been lines wrapping around the block (each one costs $5.00) at the Dominique Ansel Bakery with people waiting just for a taste of these delicious, if not over-the-top, treats. You can check out more about the Cronut at Dominique’s website, where you can mail order them.
The concept behind the cronut is simple so I decided that I wanted to try and make them myself. I started by making a batch of croissant dough from the Bouchon cookbook. I actually made a double batch because it is labor intensive enough that I wanted dough enough to also make ham and cheddar croissants as well. I also used a variation on Bouchon’s pastry cream to fill them. If you wanted to do this recipe without all of the work, you could conceivably using freezer croissant dough and vanilla pudding (results will vary). These turned out very good. I took the batch to work and watched them disappear in a matter of minutes. Give them a try and tell me what you think.
Cronuts
1 batch – Croissant dough (recipe follows)
1 batch – Pastry Cream (recipe follows)
Oil for frying
1 cup – Sugar
1 Tbsp. – Cinnamon
2 cups – Powdered sugar
1 Tbsp. – Milk
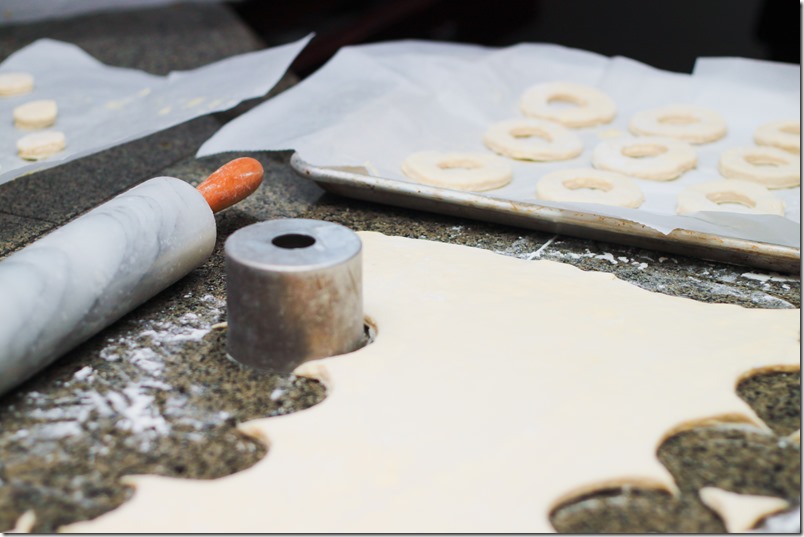
Roll the dough on a lightly floured surface until about 1/3” thick (Note: In the pictures I rolled the dough to 1/4” thick. I felt later that the doughnut would have been better if slightly thicker). Cut the dough into doughnut shapes and place on sheets of parchment, cover, and rise in a 100 degree oven (no higher or the butter will melt). Allow to rise for 20-30 minutes or until doubled in size. Since the dough is laminated dough, the reworked pieces are not going to fare nearly as well. I suggest reserving the holes and using them as well. In my opinion, they were better than the donuts themselves.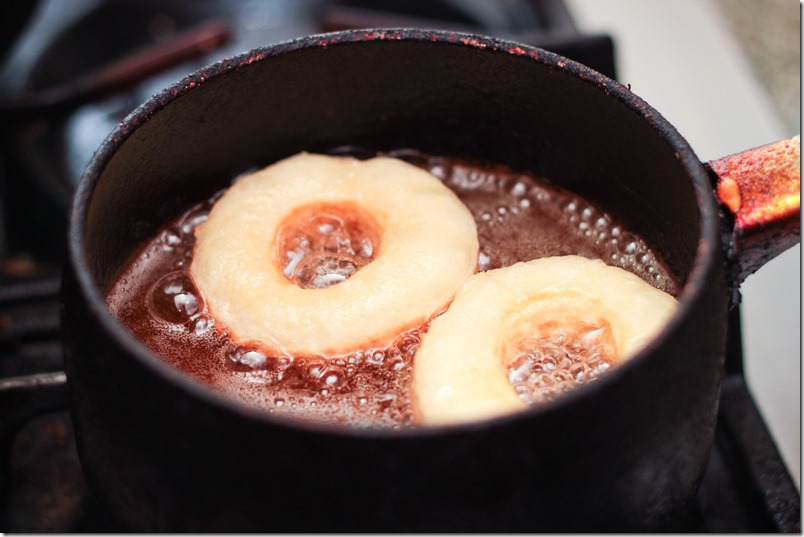
Heat the oil to 350 degrees in a heavy pot. Fry the donuts a few at a time. Add them to the oil and flip after 30 seconds. Fry until golden brown and let cool on a wire rack. Add the pastry cream to a pastry bag with a very narrow, sharp tip. Inject into the side of each donut on two sides. Mix the sugar and cinnamon, dip one side of each donut into it.
Mix the powdered sugar with a tiny bit of the milk, stir well. Add more milk, stirring continually, until the consistency is very thick but smooth so that when you press lines into it with a spoon, it goes smooth after about 5 seconds. Dip the top of each cronut into the glaze. Let stand until cooled.
Croissant Dough (adapted from the Bouchon Cookbook)
Poolish
100 grams – All-purpose flour
Pinch – Yeast
100 grams – Water, room temperature
Dough
500 grams – All-purpose flour
75 grams – Sugar
10 grams – Yeast
1 tsp – Malt powder
200 grams – Water
430 grams – Unsalted butter, separated
15 grams – Kosher salt
To prepare the poolish, mix all ingredients in a small bowl. Cover and let sit at room temperature for 12 hours.
To prepare the dough, add the flour, sugar, yeast, malt, water, and poolish to the bowl of a stand mixer. Mix for 30 seconds or until the dough comes together. Add 100 grams of softened butter and the salt. Change to a dough hook and knead at low speed for 20 minutes. In the meantime, place the remaining 330 grams of chilled butter between two sheets of parchment. Using a rolling pin, roll the butter into a 8”x9” rectangle. Chill the butter until needed.
Once the flour has completed kneading, tighten the surface of the dough by stretching it’s surface so that it is shaped into a large ball. Place in a lightly oiled bowl, cover, and let rise at room temperature for 1 hour.
Once the dough has risen, remove it from the bowl and gently deflate on a lightly floured countertop. Roll the dough out to be 17”x10” rectangle. Set the rectangle of chilled butter in the center of the dough, oriented so that the 9” side of the butter coincides with the 10” width of the dough. Fold sides of the dough into the center, covering every inch of the butter. Pinch the edges of the dough together where it meets to make a tight seam. Once the slab of butter has softened slightly (either in the time that you were adding it to the dough or by waiting an additional minute or two), roll the dough out to 17”x10” again, being careful not to tear the dough or expose the butter. Fold the same way as before, bringing the long ends into the center, pinch the seam, and chill the dough (I put it in the freezer) for 5-10 minutes.
Repeat this rolling and folding action 2 times. Each time, turn the dough 90 degrees clockwise before rolling. Chill inbetween each rolling and folding maneuver. Once you are complete, chill the dough for an additional 10 minutes or overnight.
Pastry Cream
4 – Egg yolks
1 tsp. – Vanilla extract
1/3 cup – Sugar
1/3 cup – All-purpose flour
1 cup – Whole milk
1 Tbsp. – Butter
1 cup – Heavy whipping cream
Add the yolks, vanilla, and sugar to the bowl of a stand mixer. Whisk until pale yellow and thick, about 5 minutes. Whisk in the flour (about 1 minute). Add the milk and mix until well incorporated. Add to a double boiler and heat, whisking continually, until the sauce thickens and starts to simmer. It may get some lumps (even with the whisking). Once the sauce is thick and has come to a simmer, remove from the heat and add the butter. Whisk until smooth. Allow to cool completely then press through a fine mesh sieve to remove any remaining lumps.
Add the heavy cream to the bowl of a stand mixer. Whisk until whipped to medium peaks. Fold in the egg mixture. Chill.
