Homemade Marzipan Chocolates

Marzipan (7 of 7)

I recently got the itch to make some holiday goodies. First I made cannoli, then English toffee, and now marzipan. This marzipan recipe was very simple. You’ll notice that the marzipan turned out much darker than normal, this is because I didn’t use blanched almonds (which have the skins removed). Leaving the skins gave it a much nuttier flavor in place to the uber-light flavor of normal marzipan. I then dipped them in tempered dark chocolate. Usually my family makes peanut butter cups around the holidays. I guess that this makes for a more elegant replacement.

Marzipan Chocolates

4 cups – Whole almonds (or whole blanched almonds, or 2 cups of almond flour)

1 cup – sugar

1/3 cup – water

1 Tbsp. – corn syrup (or agave)

1/8 tsp. – Cream of Tartar

1 – egg white (1 to 1 1/4 oz)

1 lb – dark chocolate (I used 72% dark to counter the sweetness of the marzipan)

powder sugar for dusting


Grind the almonds into a fine powder using a blender or food processor. You need a total of 2 cups of almond flour. Grind as finely as possible.

In a small sauce pan add the sugar, water, and syrup. Heat until the sugar dissolves and add the cream of Tartar. Using a candy thermometer, continue to boil until the mixture reaches 240 degrees (soft ball). Quickly remove from heat and cool (I let cold water run down the side of the pan). While the mixture is cooling, continually stir it with a wooden spoon. As it cools it will begin to take air and appear ‘creamy’. At the point that it is still warm but has begun to cream, add 2 cups of almond flour and the egg white. Stir well. Return pan to the stove and heat on medium heat for 2 minutes, stirring continually. The resulting dough will be sticky and quite stiff.

Marzipan (1 of 7)

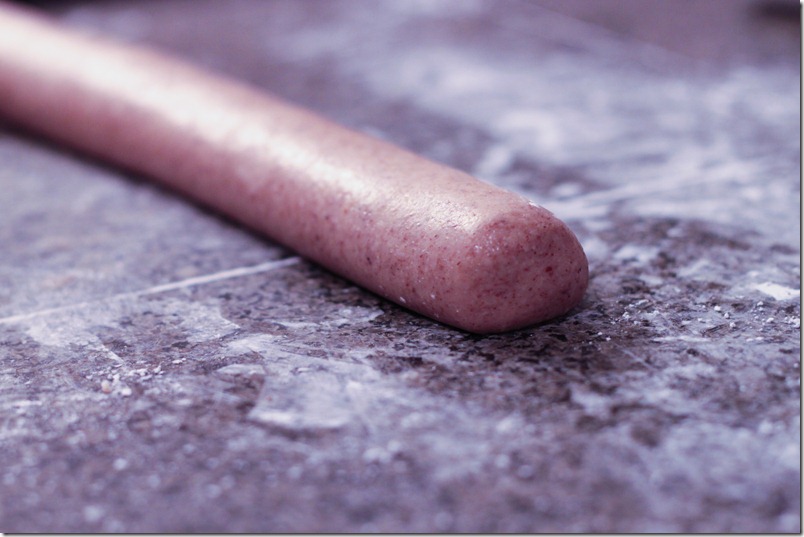
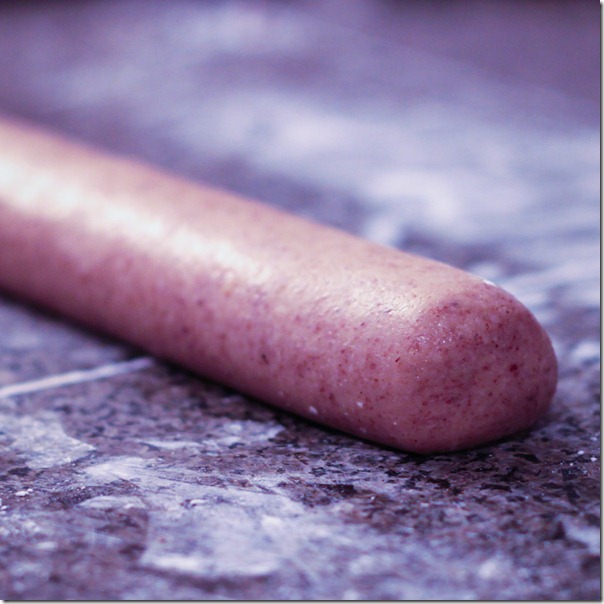
Remove from the heat and allow to cool (stirring continually). Remove from the pan and place on a counter that has been dusted with powdered sugar. Now begins the kneading process, if the dough is too hot to touch then knead it with two metal spoons. Keep the outsides of the dough from becoming sticky by using more powdered sugar. Knead the dough until it becomes pliable like a firm dough. It will lighten in color as it is kneaded.

Marzipan (2 of 7)

Now that the marzipan is complete you can use it for all sorts of things. One fun use is as a layer on the outside of a cake like fondant. It is also common to color it and make figures and edible models. For this sort of marzipan, blanched almonds are best as it causes the marzipan to have a lighter flavor and color which is better suited for dying. I decided that a simple use would be to form it in chocolate moulds and then dip it in dark chocolate. If you do not have a mould, you can always roll them into small balls instead. One of the most common complaints about marzipan is that it is too sweet, so I figured that the dark chocolate would cut some of that. It did, and you end up with a wonderful little confection. First I took a simple heart mould, meant for chocolates, and lightly wiped it with a light, flavorless oil.

Marzipan (4 of 7)

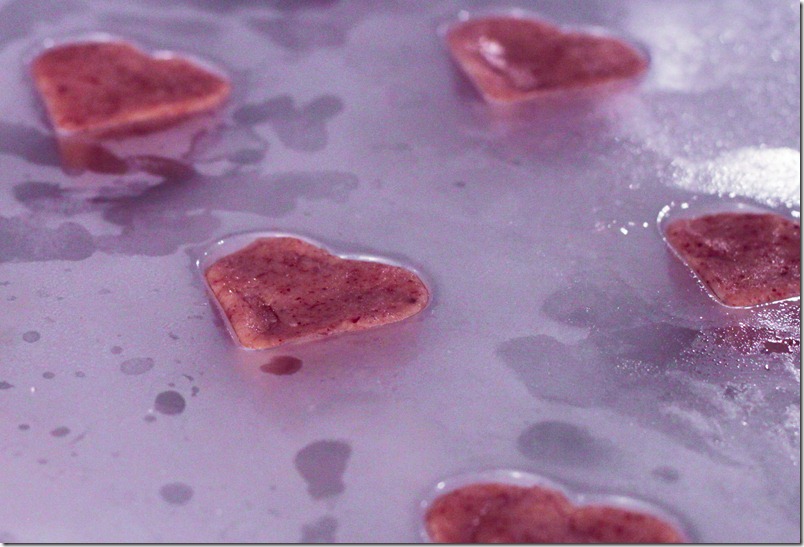
I then pressed small balls of marzipan into the mould. I placed it in the refrigerator to firm up. After about 20 minutes, the marzipan had firmed up and was ready for dipping.

Marzipan (5 of 7)

While the marzipan hearts were cooling, I prepared the tempered chocolate.

Tempering Chocolate

I’ve found that the “seed method” is easiest way to temper chocolate. If you are not familiar with what it means to temper chocolate, tempering chocolate is the process of creating uniform crystals in the cocoa butter of the chocolate. Chocolate that is not tempered with have a waxy white film or mottled texture that is unappetizing. Well tempered chocolate has a smooth color and “snaps” when you break or bite into it. The seed method is where you add a piece of tempered chocolate into melted chocolate to start the crystal formation.

Place all but 3-4 squares or pieces of your chocolate into a microwave safe bowl. Place the bowl in the microwave and heat on half power for one minute. Remove from the microwave and stir. Repeat the process at 30 second intervals until the chocolate is almost fully melted (there should still be several chunks that are still to be seen). If you overheat the chocolate it will scorch. If it scorches, throw it out (or find some other use for it), as it will never temper again once it has scorched (so be careful and don’t scorch it!).

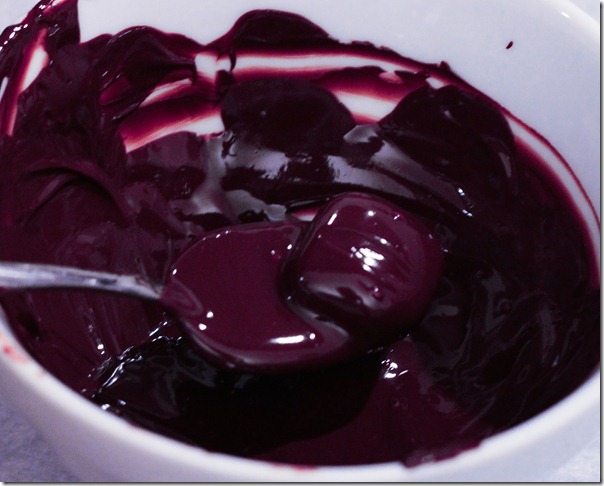
Once it is almost entirely melted, stir it until it melts the rest of the way. Test the temperature using a digital thermometer (a glass candy thermometer can be very slow), it will likely be around 105-110 degrees Fahrenheit. Continue to stir occasionally or let sit until the chocolate reads between 95-100 degrees, then add a piece or two of the reserved, tempered chocolate. Stir well with the solid pieces in the chocolate. This will spread the tempered goodness around. Watch the temperature closely as you will want to dip your chocolates at an exact temperature.

For dark chocolate dip at: 92 degrees

Milk chocolate dip at: 90 degrees

White chocolate dip at: 88 degrees

Marzipan (3 of 7)

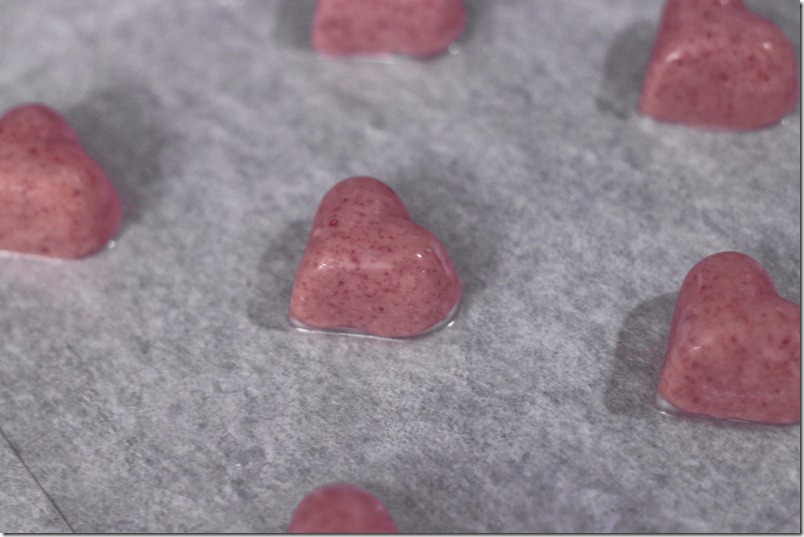
Once the chocolate is tempered correctly, remove the marzipan from the moulds and place the bottoms in the chocolate, then place each marzipan heart on a piece of parchment paper to cool. Never try and cool tempered chocolate in the refrigerator or it will not temper correctly (and have a waxy film). If you have tempered correctly, the chocolate should harden within a few minutes (and it’s a clear sign that you have made a mistake if it takes a long time for the chocolate to harden). Do a few of the hearts and then test how you’ve done. If your chocolate didn’t temper correctly, you can always rewarm it to 101 degrees or higher and start the seeding method over again. This should be a great introduction into tempering and making chocolates!

Marzipan (6 of 7)

Leave the Gun. Take the Cannoli!

Cannoli (1 of 9)

Every year I like to take some form of homemade treat to my neighbors and friends around the holidays. This year I decided on making homemade cannoli. If you’ve never had cannoli, they are an Sicilian pastry made from a fried sweet pasta shell filled with sweet ricotta cream. When done correctly they are lightly sweet and not overbearing (and really wonderful). There are many ways to make cannoli but I think the best has a clear citrus flavor with a hint of chocolate. Cannoli have been popular among Italian Americans for many generations. They also have their place in pop culture as part of one of the most famous lines in The Godfather film. After a revenge hit is conducted, the Mafioso Clemenza states, “Leave the gun. Take the cannoli.”, then grabs the white cannoli box and makes a quick escape as seen here:

Clemenza’s famous line from the Godfather

Special Tools

Pasta roller

Cannoli forms – Trust me, its worth the couple of bucks for these forms. We tried homemade ones at first.

Piping bag with large tip


Cannoli (makes about 30 cannoli)

For the shells:

1 1/3 cups – all purpose flour

1/4 tsp. – salt

1 Tbsp. – granulated sugar

2 tsp. – cocoa powder (do not use Dutch processed)

1/2 tsp. – ground cinnamon

2 Tbsp. – shortening or lard

6-7 Tbsp. – sweet Marsala wine

Peanut Oil – for frying

1 – egg whites, lightly beaten


For the filling:

2 cups – fresh ricotta (I found store bought ricotta to not work as well. Go here for my recipe to make your own.)

2 cups – Heavy whipping cream

1 cup – powdered sugar

1/4 tsp. lemon zest

1 tsp. – vanilla extract

1 packet – powdered gelatin

2 Tbsp. – cold water

1 tsp. – kosher salt


For the toppings:

1 cup – mini chocolate chips

1/2 cup – finely chopped pistachios

1/2 cup – finely minced candied citron

Add flour, salt, sugar, cinnamon, and cocoa in the bowl of a stand mixer. Whisk to combine well. Using the paddle attachment, add the lard and mix on low speed for several minutes until the mixture resemble fine crumbs (similar to what you do for biscuit, pasta, and pie crust). While mixing on low speed, add the Marsala wine, 1 Tbsp at a time, until the the just comes together and balls up on the paddle. It should be on the dry side while still being workable, so don’t be afraid to add too little marsala. This should be about 6 tablespoons depending on the humidity. It should appear like a brown stiff pasta dough. Remove from the mixing bowl and work a little on the counter into a dry tight dough. Wrap in plastic wrap and let rest at room temperature overnight (a minimum of one hour). As it rests it will soften, relax, and moisten, which is why it should start out very dry.

After the dough has rested, break it until several pieces (4-5 depending on your comfort with a pasta roller). Now knead the dough by rolling through the pasta roller the same way you would any pasta, which is to roll it out on the largest setting, fold in half, roll again, and repeat. Every so often change the direction of the dough by 90 degrees and repeat the process. Be careful not to overwork your dough. You are shooting for an even consistency in color and texture. If the dough seems to break apart as you roll it then it may be too wet. If so then add more flour to the outside and knead it in.

Heat oil in a fryer or large, heavy pot to 350 degrees.

Break off a small piece of dough and roll it into a 1 inch sized ball. Send through the pasta roller then decrease the thickness to size 4 setting. It should come out as an oval. Wrap the dough around the form and, using a pastry brush, lightly brush one edge of the shell with egg white. Do not let egg white touch the cannoli form! It will cause the shell to stick to the form. It should only go between where the two edges overlap.

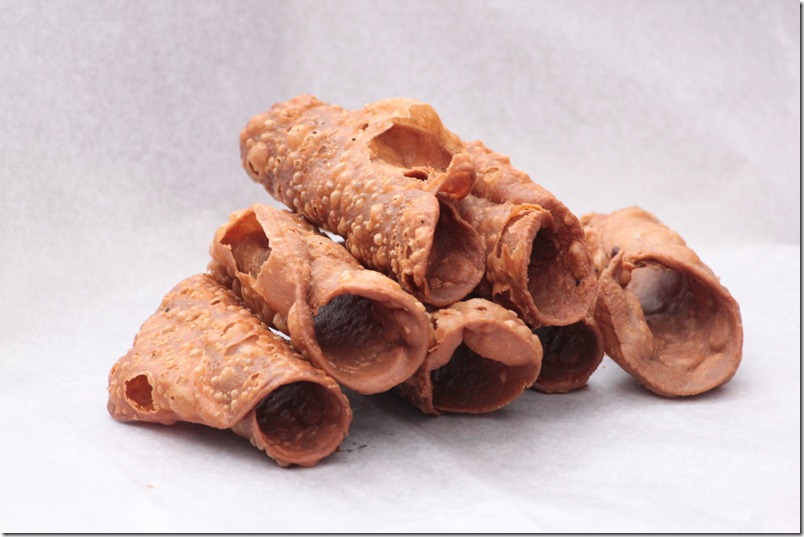
Place the shell and form into the hot oil bath. After 45 seconds, lightly remove the shell from the form and continue frying. I did this with a pair of tongs and a chopstick. I would hold the edge of the form with the tongs and push the shell off with the chopstick. You will likely need to use the same forms several times for this batch. Wash the forms between each use. I had a sink full of soapy water, as soon as I would remove the shell from the form, I would toss the form into the soapy water, then quickly scrub each form, rinse, and dry. Fry the shells for 30 or so more seconds until the shell is lightly browned and crispy. If the shell deforms when picked up with the tongs then it needs more time. Drain entirely then let cool on a rack. Never place on a paper towel to cool as it will make it more greasy and soggy.

The shell can be left uncovered at room temp for 1-2 days.

Cannoli (4 of 9)

To make the filling, add the gelatin and cold water to a small bowl and let steep for several minutes. Add the ricotta, cream, sugar, salt, zest, and extract to the bowl of a stand mixer. Whip gently with a paddle attachment. Heat the gelatin bowl in a double boiler (or in the microwave at half power) until the gelatin melts. Pour the warm gelatin mixture into the ricotta mixture and mix well. Chill for 30 minutes. Return to the stand mixer and whip until light and fluffy.

It is important to not fill the shells until right before they are to be consumed as the shells will soften with the filling over time.

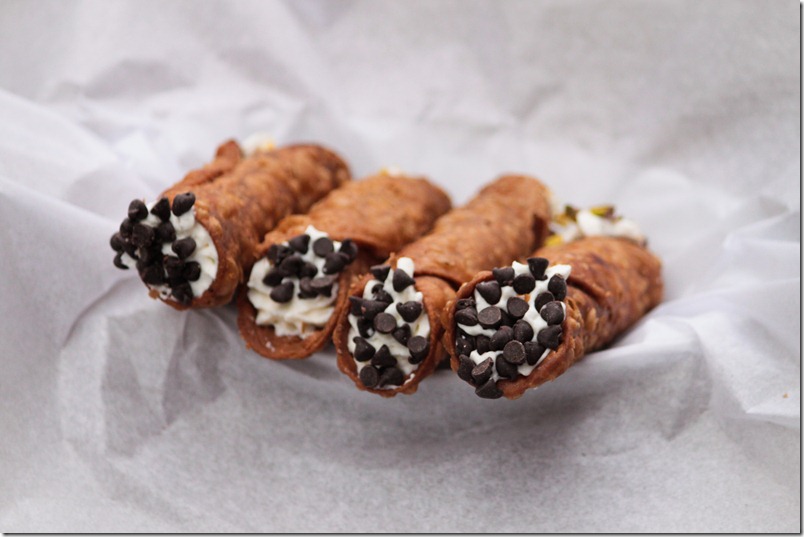
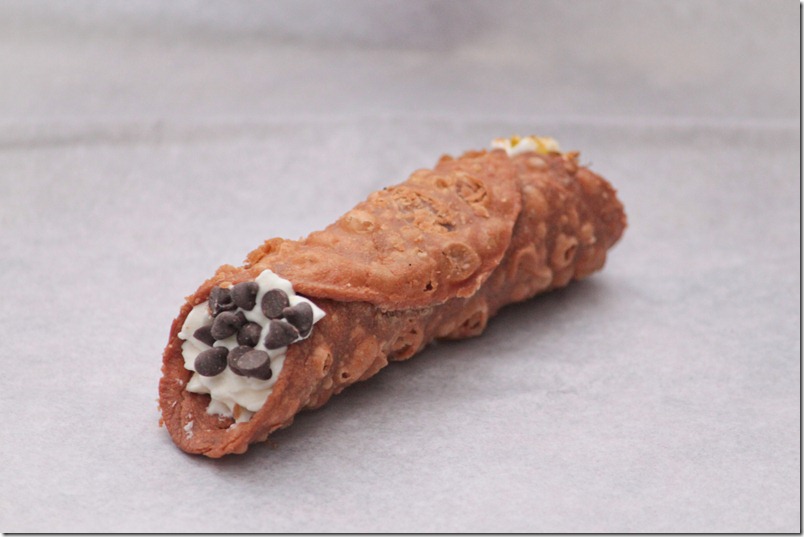
To fill, add the filling to a large piping bag that has been fit with a very large tip. Pipe into the shells, first from one side then the other. Place the mini chocolate chips in a small bowl and the pistachios and citron in another. Dip one side of the cannoli into the chocolate chips and the other into the pistachios and citron. Dust with powdered sugar.

Cannoli (3 of 9)

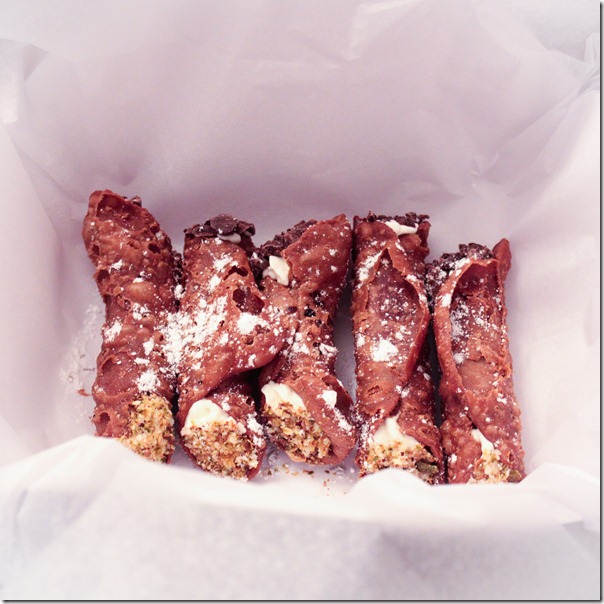
To give as gifts I lined the inside of a small white food box (from a restaurant supply store) with tissue paper and placed several cannoli inside.

Cannoli (5 of 9)

I then closed the boxes and tied with raffia. Happy holidays!

Cannoli (8 of 9)