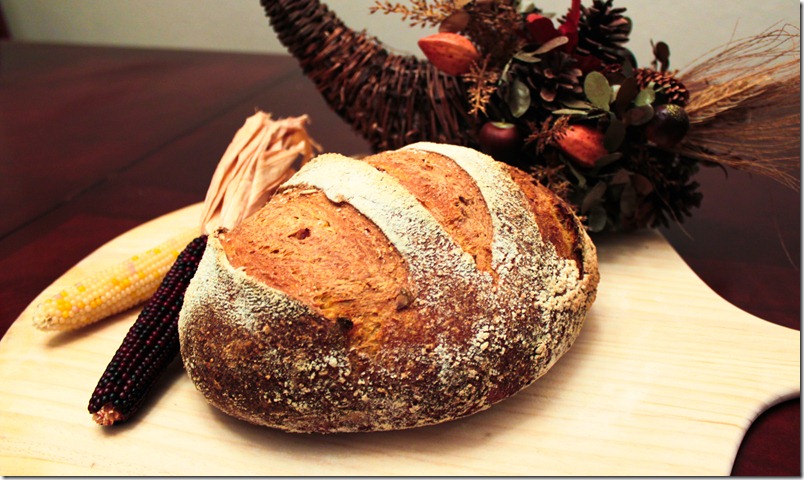
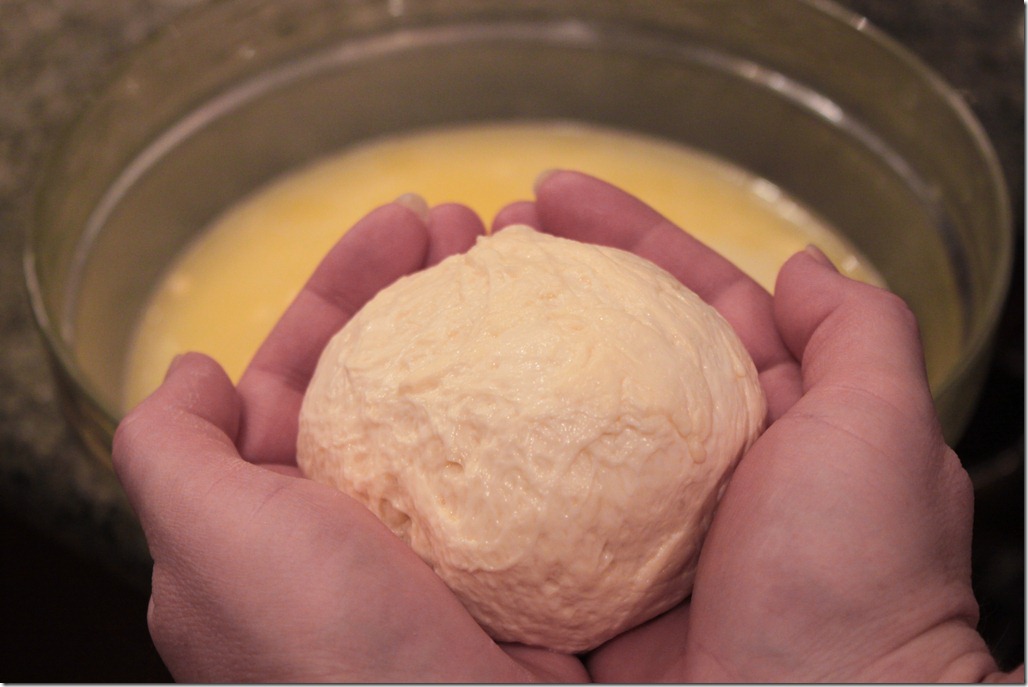
I recently tried out this wonderful recipe for carrot spelt bread. It has a wonderful rustic texture and a nutty flavor. It made wonderful sandwiches and was nice along side dinner as well. One suggestion from the original author is to wait to eat the bread for about 4 hours as it needs time for the natural sweetness of the bread to come out. The original recipe calls for a sourdough levain but when I pulled mine out of the fridge, it had died! How sad it that. My starter was one that I’d had for years now and came from The Herb Farm (mum’s the word on how I got it). It was an amazingly active starter, so much so that it had popped the lid off it’s the container, which led to its untimely demise. I plan on starting a new one in the next week or so, so expect a post about that as well.
In the meantime, I wanted to make this bread so I altered the recipe and made a commercial yeast levain in which I added malt vinegar to speed up the souring.
This recipe also uses a soaker. If you are not familiar with using a soaker in bread, then you’ve been missing out. Soakers add a richness and dynamic to any bread that really is something wonderful. The idea behind a soaker is to take a coarse cut grain and add boiling water, then let it sit overnight. During that time enzymes are activated in the bread that add flavor and depth to the bread. This is then added at the last minute to the dough which helps improve the crumb.
So, don’t be scared off by the many components to this bread, its actually quite easy to do, it just takes a few more bowls at the beginning. Also, this recipe is in grams. If you do not have a kitchen scale then it’s time to get one as baking is not the same without it.
Corn Soaker
163 g – coarse polenta
114 g – boiling water
Sponge
235 g – unbleached bread flour
160 g – cold filtered water
small pinch – instant yeast
Spelt Levain
235 g – whole spelt flour
200 g – cold filtered water
11 g – malt vinegar
small pinch – instant yeast
23 g – unbleached bread flour
Final Dough
470 g – unbleached bread flour
268 g – carrot juice
1/8 tsp. – instant yeast
26 g – salt
92 g – pumpkin seeds
all of sponge, levain, and soaker
flour for proofing
Instructions
These steps should be done the night before…
Start by activating the yeast for the levain by placing the 23 grams of bread flour in a small prep bowl with the pinch of yeast. Stir gently then add the malt vinegar and 12 grams of the 200 grams of cold water. Stir gently and set aside.
Now make the soaker by placing the polenta in a bowl and pour the boiling water on top (no need to stir).
For the sponge, mix all of the ingredients together until well mixed. It should form a sort of wet dough.
For the levain, add the spelt flour, remaining 188 grams of water, and starter mix prepared previously in a small bowl until well mixed. It should ball up like a dough. Knead one or two times until everything seems well mixed and some surface tension can be created on the dough. Ball up and place in a clean bowl (I just washed the bowl that I mixed it all in).
Cover the soaker, sponge, and levain with plastic and leave on the counter overnight.
These steps are done several hours before you will bake the bread…
Combine the flour, carrot juice, yeast, salt, sponge, and levain in the bowl of your stand mixer using the paddle attachment until well mixed. Change to the dough hook and knead on low speed for 5-6 minutes or until the dough is to a medium consistency.
Add the soaker and pumpkin seeds and knead lightly until just incorporated.
Transfer to a lightly oiled bowl and rise for two hours, folding gently at the 40 and 80 minute marks.
Remove the dough from the bowl and place on a lightly floured countertop. Cut the dough into two equal pieces (or more depending on the shape you are shooting for). I then shaped each dough into a boule, which is similar to making a very large roll, pulling one part of the surface tightly around the entire outside of the dough so that you have a tight surface tension on the outside of the bread. Take tea towel and flour it heavily in the center. Place it in the medium mixing bowl so that the floured portion lines the bowl. Place the boule (seam side up) in the bowl and cover with the floured towel. Repeat the process for the other dough. Proof at room temperature for 15 minutes at room temperature then 90 minutes in the refrigerator.
In the meantime, preheat oven to 475 degrees Fahrenheit with a baking stone. Thirty minutes before the dough is ready, place an ovenproof container (I use a small cast iron skillet) in the oven on a rack below the stone.
Once the dough is ready, prepare a wooden peel (or upside down cookie sheet if you don’t have a peel) with flour (I always use semolina) or corn meal. Remove the floured towel from the top of the dough, flip the peel over on top of the bowl, then flip the bowl and peel over together, causing the dough to fall lightly on the peel. Remove the bowl and flour. Gently scour the top of the dough with several slashes about 3/4 of an inch deep.
Throw some ice cubes in the preheated pan below the stone (this will cause a whole bunch of steam) and slide the dough onto the stone. Close the oven and quickly repeat with the second dough.
Bake for 10 minutes then remove the steam pan and lower the temperature of the oven to 450. Bake for another 15 – 20 minutes or until the bread looks golden brown. Turn off the oven and leave the bread for another 10 minutes with the oven door ajar.
Let cool 4 hours on a wire rack.
