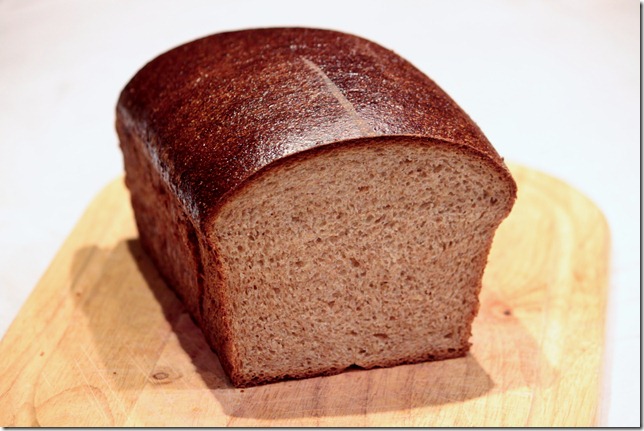
This is a yummy whole wheat bread recipe that I’ve been working on lately. It is enriched and works great for sandwiches and toast. It’s super soft and moist (unlike most wheat breads, especially the store bought varieties) and is a snap to make. We’ve been using this for the kids’ lunches lately and they love it. It’s also healthier than the stuff from the store as you know exactly what it contains.
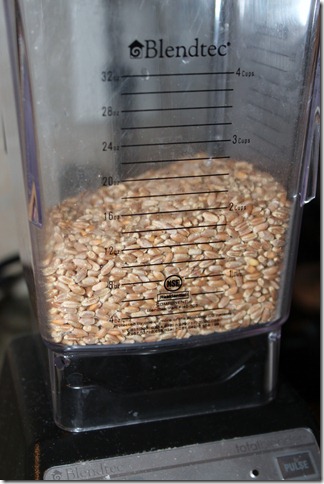
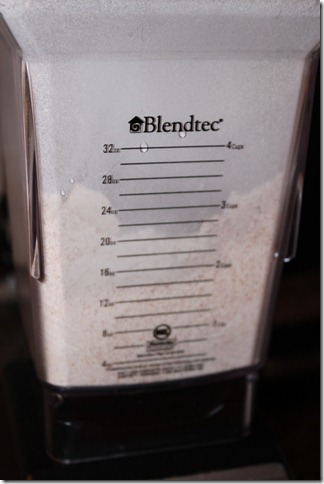
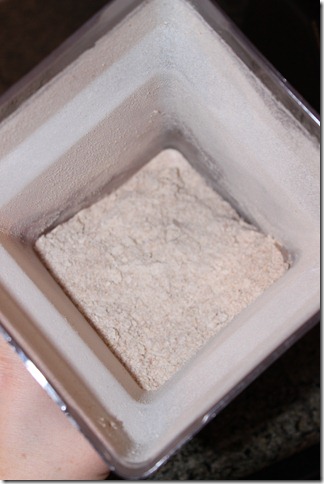
For us the first step is in making whole wheat flour (you can also buy it from the store like normal people). We put a couple of cups of hard red or white wheat berries in our high powered blender and 40 seconds later we have wheat flour. We usually make it in large enough amounts to last through a few batches of bread. I’ve heard that resting the flour actually helps it and I find that the last loaf from a batch of wheat flour tends to be the best. In this recipe, I use a mixture of whole wheat and bread flour to make a softer, lighter whole wheat bread.
So on to the recipe:
Moonlit Kitchen’s Whole Wheat Bread
1 cup warm whole milk
1/4 cup honey
2 1/4 tsp. (1 packet) instant yeast (I use saf-instant)
1/3 cup light olive or canola oil
2 cups whole wheat flour
2 cups high gluten bread flour
2 Tbsp. ground flax seed (optional)
1 Tbsp. kosher salt
1-3 Tbsp. Water
1 egg
Warm milk in the microwave for one minute, or use the stove—the milk should end up lukewarm. Add milk to mixing bowl with honey and yeast, mix well. Let the yeast bloom for 5-10 minutes until it starts to foam up on the top.
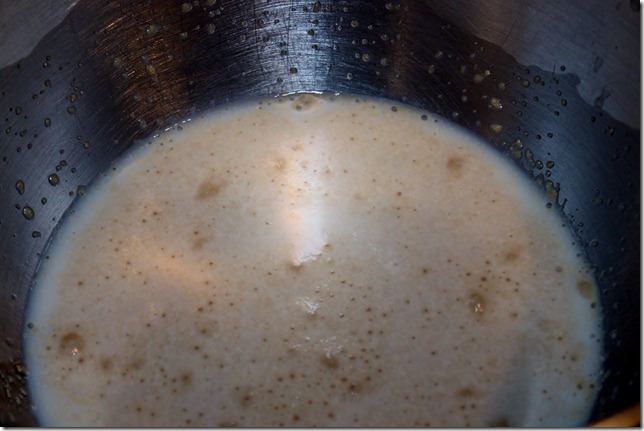 Now add the flours, oil, salt, and flax seed. Note: instead of the light flavored oils that I use here, you can use other fats such as softened butter or rendered bacon grease. Both are very tasty and alter the flavor and texture of the bread in different ways. Using the beater attachment on your mixer (a large spoon if by hand), beat the mixer on medium speed until very well incorporated. Let rest for 10-15 minutes. This is called autolyzing and is meant to allow the glutens in the flour to soften and prepare for kneading.
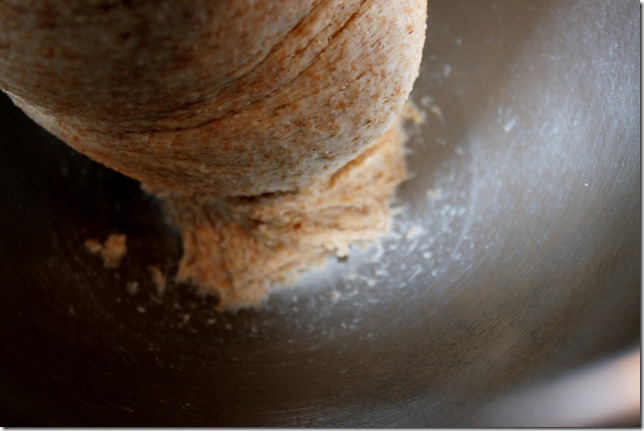
After the autolyzing period, switch to the kneading hook and knead on medium-high for 7 minutes. At this point the dough might be too dry. Add water, 1 tablespoon at a time, until a “foot” forms while kneading. See the image below. A foot means that part of the dough is still sticking to the bottom of the bowl as it kneads and signifies that the moisture content is the correct amount for this recipe. After you add the water, the dough will get all messy on the sides of the bowl (and maybe even break apart a bit) for a minute while the water incorporates, then as the water mixes in, it will either be enough for a foot or not, if not then add more.
 Once the dough had finished kneading, stretch the dough into a tight ball by stretching the top of the dough and tucking everything underneath (like making a big roll). Place in a clean, lightly oiled bowl. Cover tightly with oiled plastic wrap. Let double in size in a warm place (2-4 hours, depending on the warmth of the place and age of your yeast).
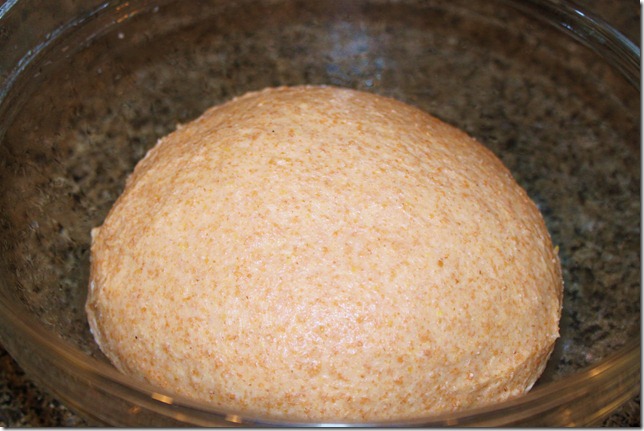 After it has doubled, remove from the bowl and lightly degas. Gently “roll” the bread into the shape of a hoagie, making sure that the outside of the dough is smooth and tight. Press into a lightly greased bread pan and cover with a tea towel or oiled plastic wrap. Let rise until it doubles in size (another 2-3 hours).
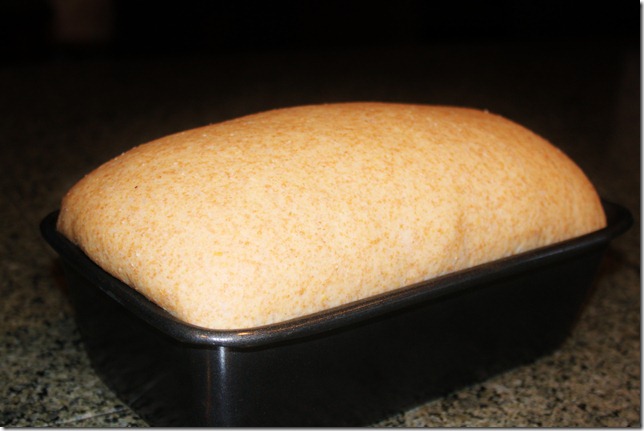 Once the dough has doubled in size, beat the egg with 1 Tbsp. of water and brush onto the top of the loaf as an egg wash. Preheat the oven to 450 degrees. After you place the loaf into the oven, drop the temperature to 425 and bake for 15 minutes. After 15 minutes, drop the temperature to 350 and bake another 25-35 minutes or until the internal temperature of the bread reads 200 degrees (I insert my kitchen thermometer into the center of the bread to read this temp, remember to take the bread out and shut the oven door while you do this).
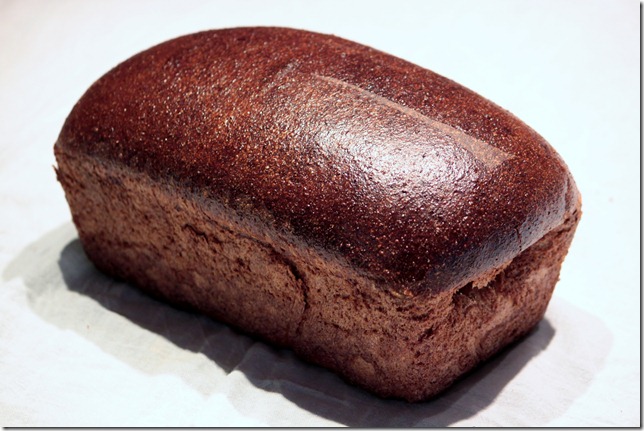
Once the bread is finished, remove from the bread pan and place on a wire rack to cool completely (if you can wait that long).
